

Speed is crucial when invoicing customers, especially if you want to get paid on time. For many small businesses, chasing late payments can be a frustrating and time-consuming task. One of the best ways to avoid this issue is to master recurring billing and ensure invoices are sent out promptly. The quicker your customers receive their invoices, the more likely they are to pay while the transaction is still fresh in their minds. By streamlining your billing process and embracing automation, you can significantly reduce delays and improve cash flow.
In addition to speed, frequency and consistency will also ensure that payments are paid punctually. The most common duration for setting up recurring billing is monthly, which can go by quickly. To keep customers accountable, you need a solution that is fast and consistent. If you’re billing a costumer and you want to get paid before the next month’s invoice is generated, you need a solution that will automate payments as fast as possible.
Best Practices for Recurring Billing
- Generation of invoices must be automated
- Whether it is postal or online, invoices must be sent automatically
- Automated reminders ensure your invoice will be remembered
- Charging late fees help get you paid on time
Other Recurring Billing Features to Keep in Mind
- Delay send is a great option if you have occasional items that need to be added to invoices manually.
- Automatically add and display month of service. This may not sound critical, but if you bill the same amount each month, customers will remember making a payment and always assume it is for the current month.
- Display balance and past dues on invoices. When customers get busy, it’s easy for them to fall behind. Showing them what they owe if they haven’t paid will help keep them accountable for any past due invoices.
How to Get Invoices Paid FAST!
Not only should recurring billing be automated, but it should be fast! The key in any recurring billing environment is to do everything possible to get paid before the next invoice is generated.
- Provide the option and encourage customers to make payments online with a credit card or ACH.
- Provide the option and encourage customers to enroll in autopay.
- Enable variable auto billing. This allows you to automatically charge an account/card even when the billed amount varies month to month.
- Make sure you have automated retry for failed payments. It’s inevitable that sometimes payments will fail between expired cards and insufficient funds. When a payment fails for whatever reason, a process must be in place to automatically re-attempt an authorization.
- Enable automated messaging. When all else fails and your customer still hasn’t paid on time, they should be notified. Automated messages should be sent out to customers with specific instructions on where to go, such as a customer portal, and what to do.
Use all of the suggestions above when setting up your recurring billing process and you will be set up for success! Having a quick and consistent invoicing solution for your small business will open up more time, making you more efficient. If you’re looking for the right solution, ReliaBills is a billing software that provides all of the invoicing features listed above. Once you sign up with ReliaBills, you’ll never make a collections call again!
How to Create a New Recurring Invoice Using ReliaBills
Creating a New Recurring Invoice using ReliaBills involves the following steps:
Step 1: Login to ReliaBills
- Access your ReliaBills Account using your login credentials. If you don’t have an account, sign up here.

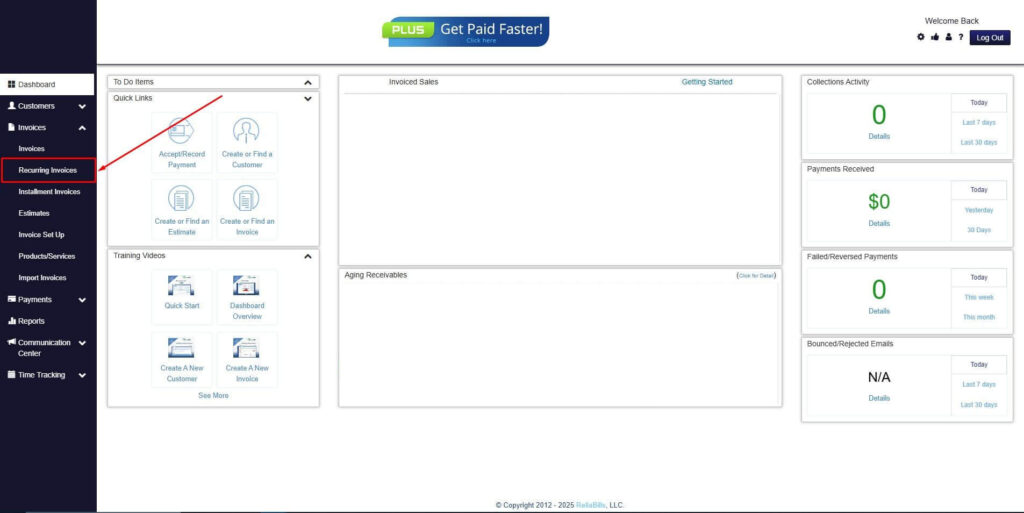
Step 2: Click on Recurring Invoices
- Navigate to the Invoices Dropdown and click on Recurring Invoices for an overview of the list of your existing customers.
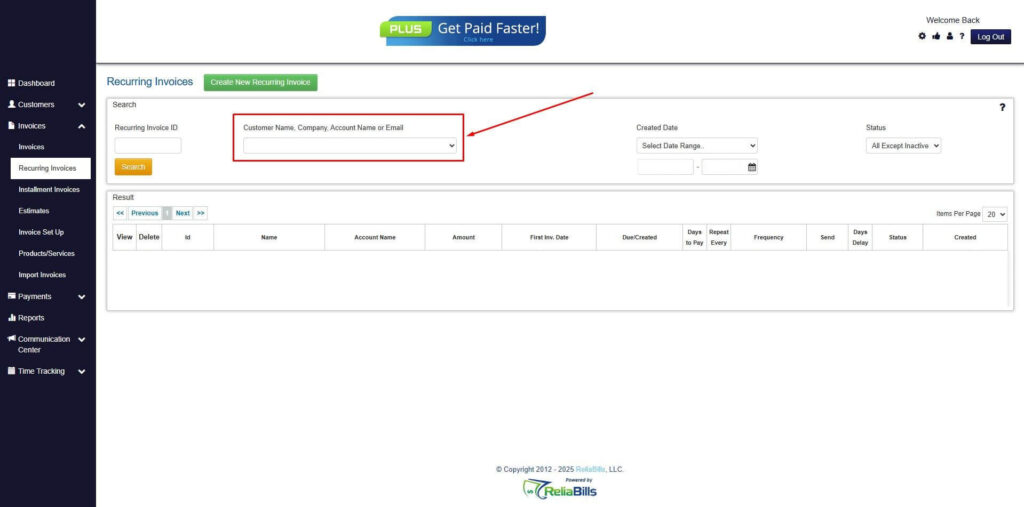
Step 3: Go to the Customers Tab
- If you have already created a customer, search for them in the Customers tab and make sure their status is “Active”.
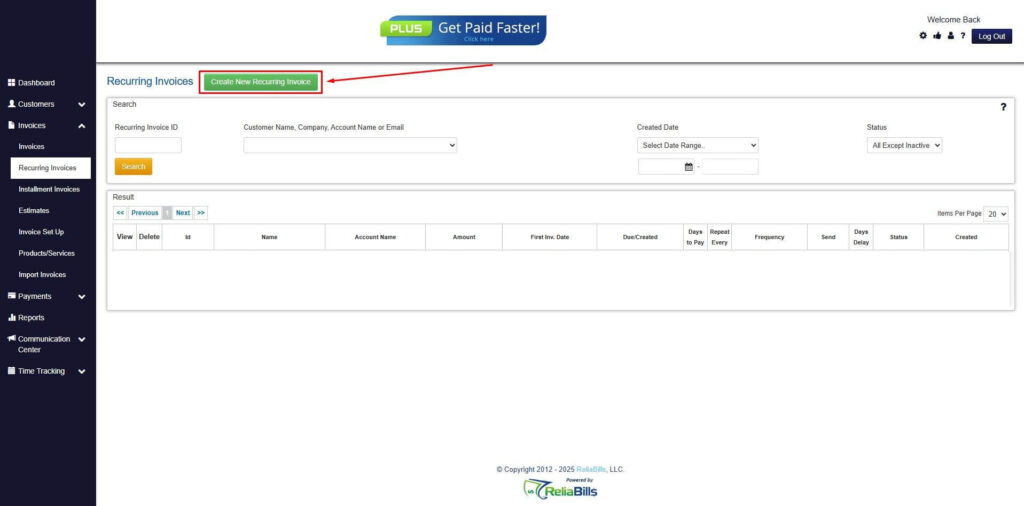
Step 4: Click the Create New Recurring Invoice
- If you haven’t created any customers yet, click the Create New Recurring Invoice to create a new customer.
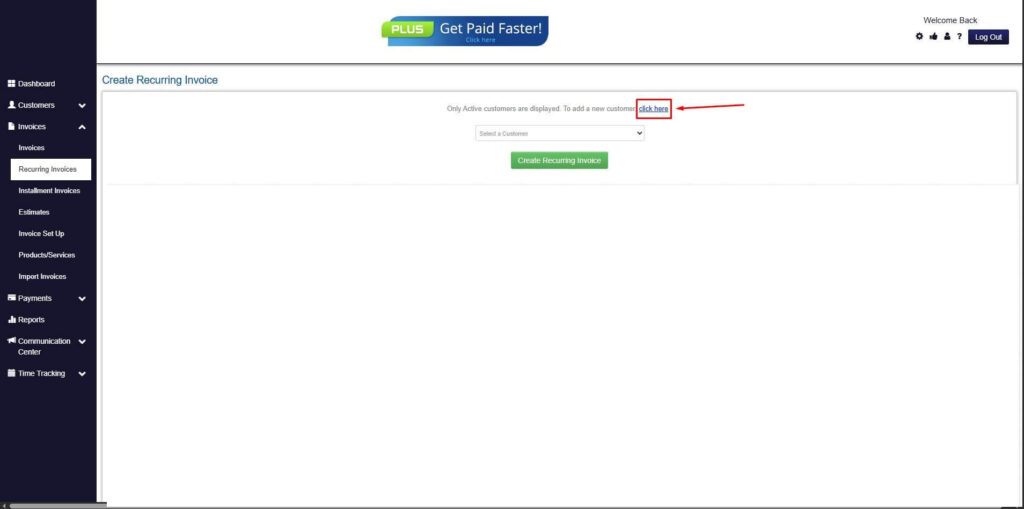
Step 5: Click on the “Click here” Button
- Click on the “Click here” button to proceed with the recurring invoice creation.
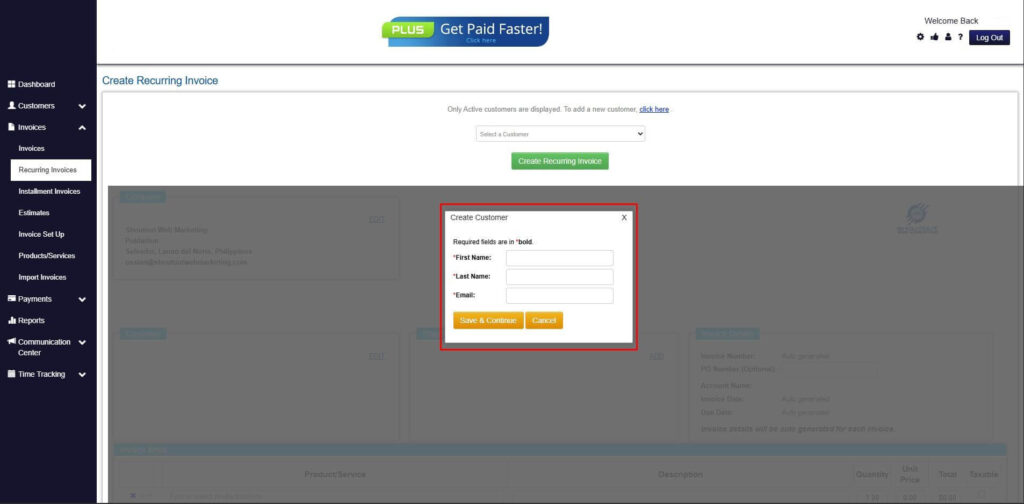
Step 6: Create Customer
- Provide your First Name, Last Name, and Email to proceed.
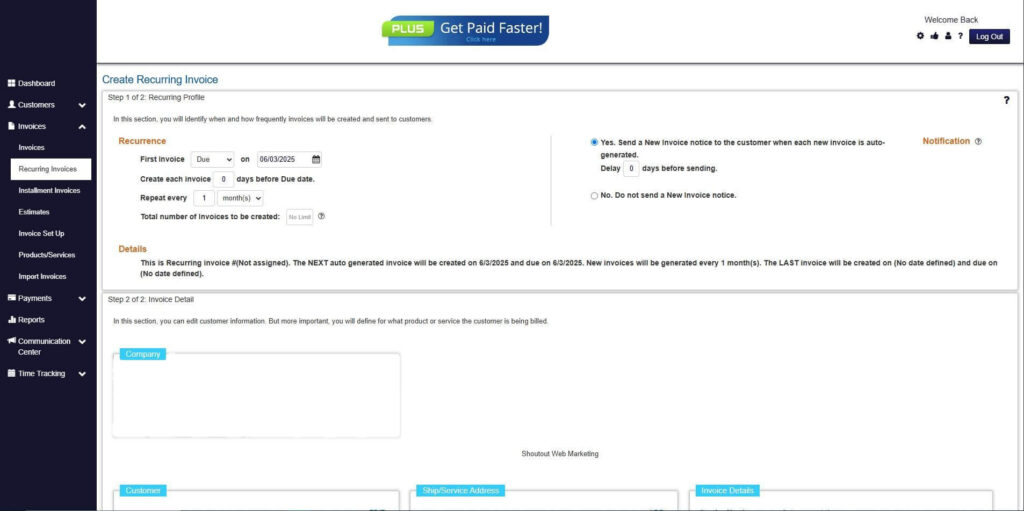
Step 7: Fill in the Create Recurring Invoice Form
- Fill in all the necessary fields.
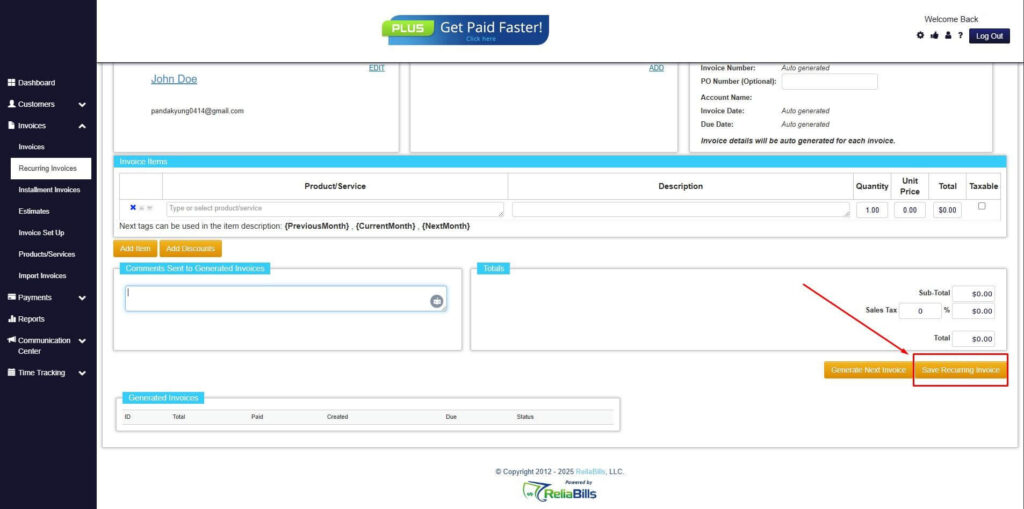
Step 8: Save Recurring Invoice
- After filling up the form, click “Save Recurring Invoice” to continue.
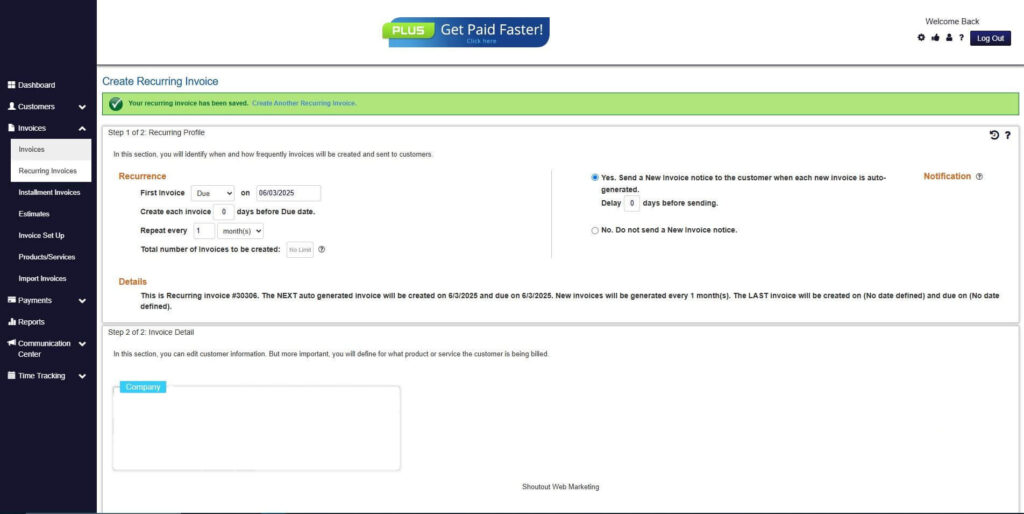
Step 9: Recurring Invoice Created
- Your Recurring Invoice has been created.
Recent Articles: