

When it comes to online invoicing, the electronic mail – otherwise known as email – plays an integral part in the process. Gmail, in particular, is the biggest and most used email platform. Whether you’re sending out your monthly invoices or informing your client about their late payment, the email is an essential aspect for today’s business operations. That’s why it’s crucial that you are well-versed when it comes to using Gmail.
Unfortunately, not all business owners are familiar with utilizing Gmail to its fullest potential. One particular area where most people have a hard time understanding is the CC and BCC feature. Gmail’s CC and BCC can help send out emails to multiple recipients. If you’re interested in knowing how to use the CC and BCC features in Gmail, you’ve come to the right place.
In this article, we will show you how to use the CC, and BCC Gmail features. And make sure you fully understand how to utilize them properly.
The Gmail CC and BCC Features
If you’ve been sending emails to your clients for quite a while now, you might have noticed that the “New Message” box has a “To” section at the very top. At the same time, it also has two clickable buttons at the right-hand side that says “CC” and “Bcc”. Clicking on each of these sections respectively opens up new sections at the bottom.
If you haven’t touched both CC and Bcc, chances are you don’t know what they are and what they do. Let’s go over each of these features one-by-one so that you will fully understand their purpose.
What is CC and When Can You Use It?
The CC (which stands for Carbon Copy) field allows you to send an email to multiple recipients. You’re probably thinking, “But you can also do that in the “To” field.” Sure, you can. But what the CC does is that it also ensures that all your recipients can see who has been added to your mail. You can compare it to a group chat where you’re sending a message to everyone and letting them know about it.
If you’re still wondering what the difference is between CC and To, it all lies in ‘email etiquette.’ Ideally, recipients who are placed in the CC section aren’t supposed to take any action on receiving an email. On the other end, recipients placed on “To” are the ones who needs the information on that email and the ones who has action to it.
You can use the CC if you’re sending important information to someone and you want to have proof that you send it to them. That’s why you CC other people who are also directly related to that information to serve as proof that you did send that email. Apart from that, there are many other purposes of CC, which is why it’s essential to use it.
How to Use the CC Feature
According to Chron, to make sure you know how to use the CC feature, here’s a step-by-step guide on sending an email to multiple recipients in an email.
- Step 1: Log in to your Gmail account. Click the ‘Compose’ button on the upper left-hand side to open the Gmail compose message window.
- Step 2: In the ‘To’ address box, enter your main recipient’s email address. Note that you can send it to multiple other primary recipients. You can separate them using a space or comma, or by simply pressing enter. Now, to send a copy of your email to other parties, you have to add ‘CC recipients.’ To do so, click the ‘CC’ button found on the right side of the ‘To’ address box. This will open up the CC address box below.
- Step 3: Enter the email addresses of the recipients whom you want to receive a copy of your email.
- Step 4: Add a subject line and compose your email message. Click send when everything is complete. The moment your hit the send button, all of the people that you’ve added to both your primary and CC fields will receive the email.
What is BCC and When Can You Use It?
Just like To, and CC, the BCC (which stands for blind carbon copy) field allows you to send emails to multiple recipients. However, when using BCC, the main recipients of the email will not be aware of the other recipients that you’ve included. The process is also the same across all other platforms.
The twist is that while your BCC field recipients can’t see who else has been added, they will know that they were added as BCC to the email. That means they are also aware that they are not the only ones being addressed.
How to Use the BCC Feature
To make sure you know how to use BCC, here’s a step-by-step guide on sending an email that uses this feature.
Use the same steps on how to use the CC feature. Except, this time, you will click on the ‘BCC’ button instead. The BCC button is found right beside the CC on the right-hand side of the To address box.
As said earlier, the main recipients of your email won’t be able to see who else has been added. However, your BCC recipient will know that they’ve been added as BCC to this email.
Using ReliaBills to Send Your Invoices
If you want to send invoices like a true professional, you can do so with ReliaBills. This invoicing platform offers a multitude of features to help you create and send your invoices. This software gives you access to multiple unique invoice templates so you can create your own attractive and professional-looking invoice.
How to Create a New Invoice Using ReliaBills
Creating an invoice using ReliaBills involves the following steps:
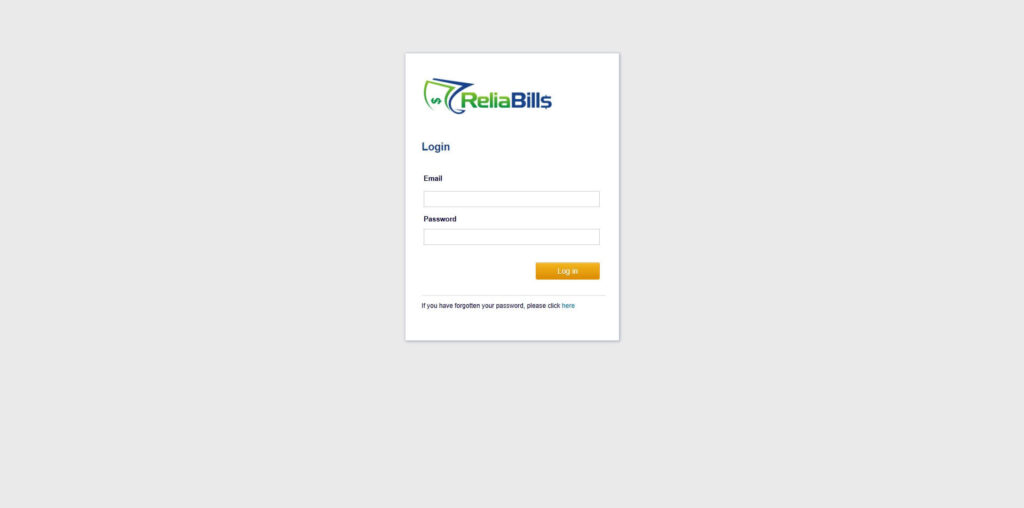
Step 1: Login to ReliaBills
- Access your ReliaBills Account using your login credentials. If you don’t have an account, sign up here.
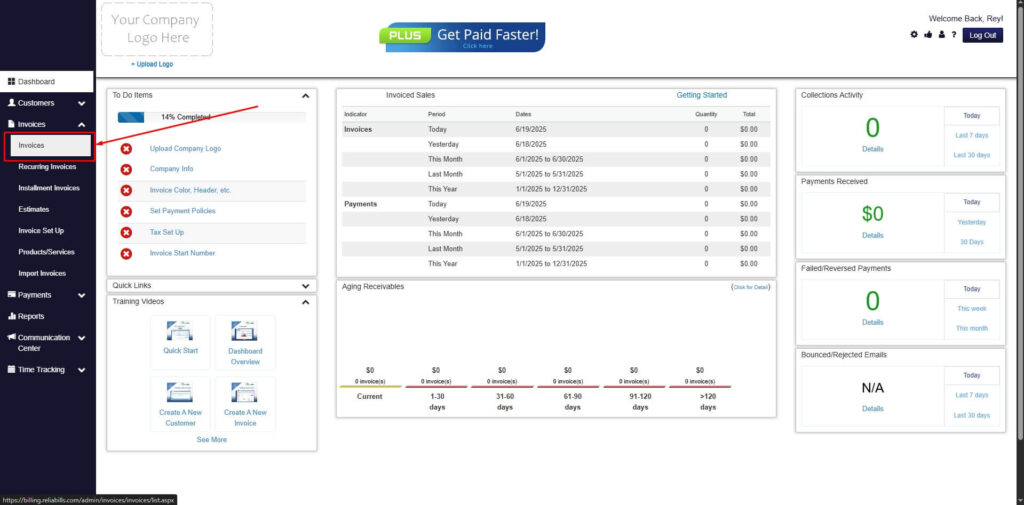
Step 2: Click on Invoices
- Navigate to the Invoices Dropdown and click on Invoices.
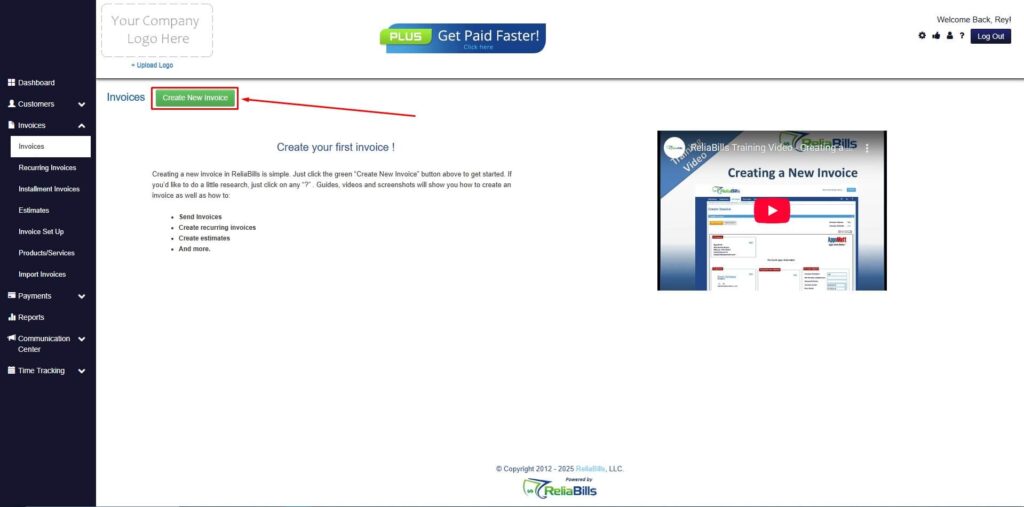
Step 3: Click ‘Create New Invoice’
- Click ‘Create New Invoice’ to proceed.
Step 4: Go to the ‘Customers Tab’
- If you have already created a customer, search for them in the Customers tab and make sure their status is “Active”.
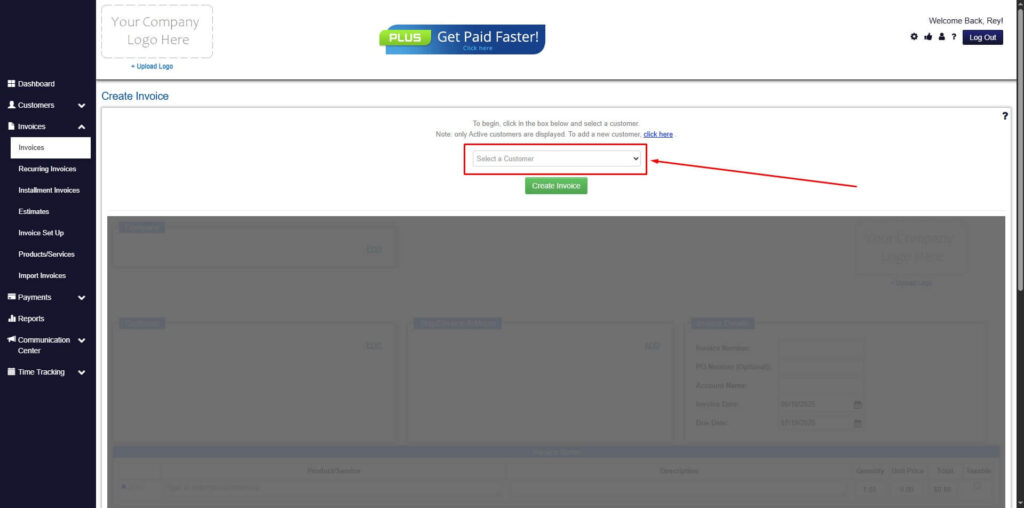
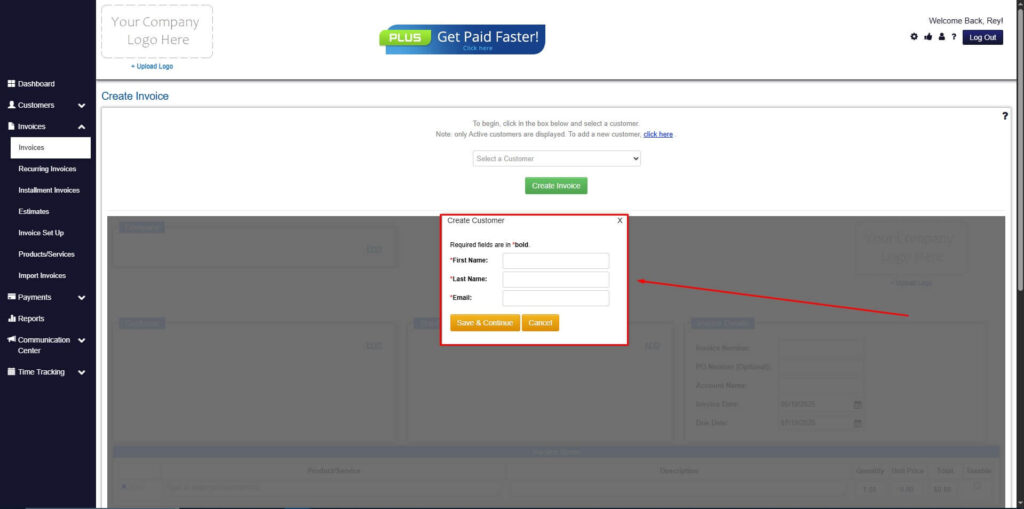
Step 5: Create Customer
- If you haven’t created any customers yet, click the ‘Click here’ to create a new customer.
- Provide the First Name, Last Name, and Email to proceed.
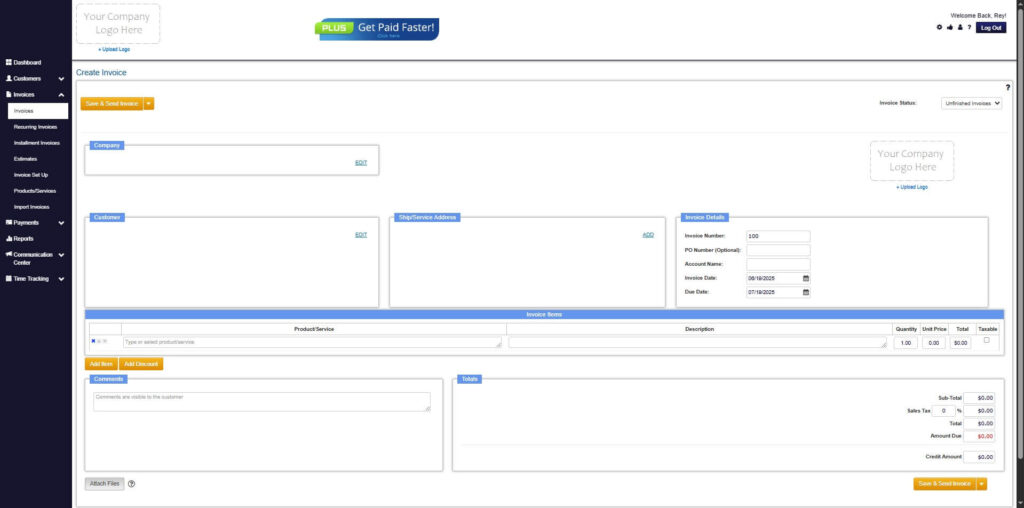
Step 6: Fill in the Create Invoice Form
- Fill in all the necessary fields.
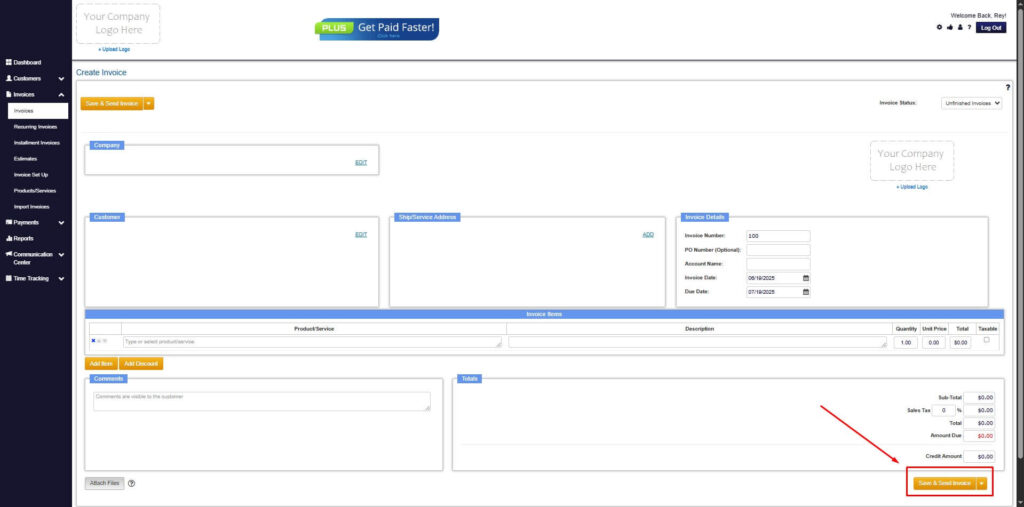
Step 7: Save Invoice
- After filling out the form, click “Save & Send Invoice” to continue.
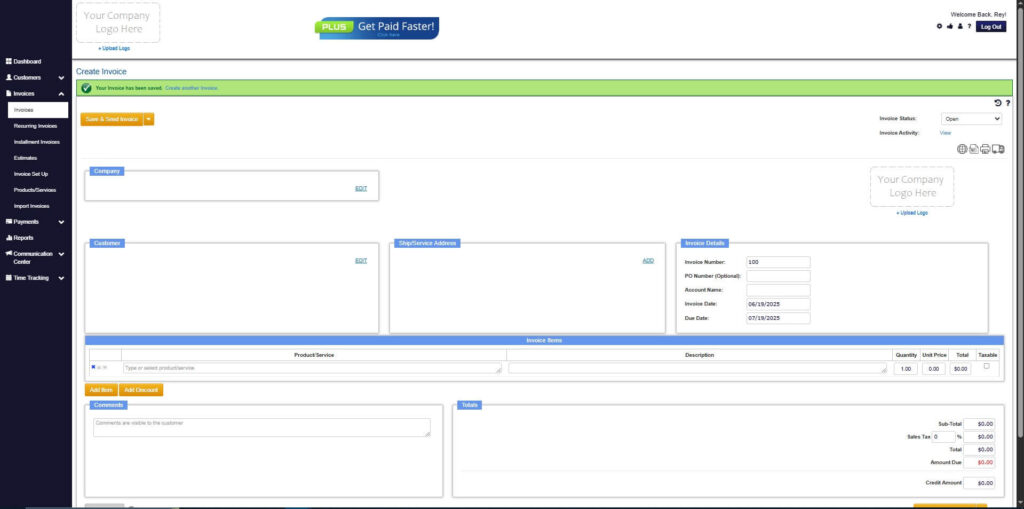
Step 8: Invoice Created
- Your Invoice has been created.

Wrapping Up
So, there you have it – a quick guide on how to use the Gmail CC and BCC features. Keep in mind that both these features are incredibly crucial when it comes to sending emails. So it’s essential to understand how they are used correctly and at the right time.