

As an artist, you are always on edge with many things. You don’t have the time to entertain other areas. That’s why if you’re going to bill your clients for your performance, you need to rely on an invoicing system, as well as an artist invoice. In this article, we’re going to show you the importance of an artist invoice, as well as knowing how to create one using platforms like ReliaBills.
An artist invoice is very important because it shows what services you have rendered for your client. It can also act as a legal document in case of any disputes that may arise between you and your clients.
Creating an artist invoice can be done in a variety of ways. One is by using an artist invoice template. Many websites provide these templates for free or at cheap rates, so you should take advantage and make sure that your work is properly documented and accounted for.
What is an Artist Invoice Used For?
As an artist, having a fast and efficient way to bill your clients is essential. While you could hire a bookkeeper or opt for bookkeeping software, the easiest and most cost-effective way to bill your clients is by creating an artist invoice.
An artist’s occupation is very busy, and many artists also have other jobs to make ends meet. With the hectic schedules that most artists have, it can be hard to remember when they last worked on different gigs or projects with their clients.
This is why creating invoices as soon as you finish a project is the best way to bill your clients. Not only does it show that you have been working on their projects, but it also shows that they can rely on you and trust in your work.
Creating artist invoices via templates is very easy and efficient, so there’s no excuse for not having them done and ready on time. You can even save them on your computer for future use, which means you will always have the right artist invoice at hand when needed.
Here are some of the reasons for using an artist invoice template:
- Record all client payments and charges
- Accurately track how much you’ve earned
- Provide an invoice for your client to pay you on time
- Record what services or products were rendered during the project
- Keep records of all the expenses related to a specific project (e.g., supplies, equipment rentals)
- Track sales tax and other deductions
- Serve as a legal document in case of any disputes with clients.
- Keep bookkeeping as straightforward as possible.
Creating an ideal artist invoice template helps you save time when billing clients because all the information you need is already there. You have to fill in the necessary details for each project and send it off! It also lessens the chances of making mistakes when invoicing and gives your clients a clear idea of what they’re paying for.
Invoice Types for Artists
Whether a professional or a freelance artist, your service and projects can vary. That’s why your invoicing needs will also vary as well. From one-time gigs or large, long-term commitments, it’s important to find the right artist invoice template for your business.
Whether you offer illustration, design, fine artist, or artistic performances, you can find the right invoicing solution that works best for you and your needs. There are a few ways you can choose an invoice type to make sure you are catering to the needs of your clients. With that said, here are the different types of artist invoices.
- Standard artist invoice: a standard artist invoice is as straightforward as it gets. It states exactly what your clients would expect in an invoice sent by an artist.
- Recurring artist invoice: a recurring artist invoice is perfect for clients who have ongoing work with you. This type of invoice will outline the total amount and frequency of payments and the specific due date(s).
- Prepayment artist invoice: This invoice is used to collect full payment before the project begins. Usually used more often for larger projects, it is sent once your clients have committed to working with you.
- Time-based artist invoice: This invoice charges a client based on an hourly rate. This type is best for freelance artists who do not have set prices in advance but charge by the hour instead.
- Debit artist invoice: a debit invoice is sent to notify a client of an amount they owe you. This type is usually used after a job has been completed and the artist needs to be paid for their services.
- Mixed artist invoice: finally, this type of invoice lists charges and credits made to a client’s account.
Tips for Creating an Artist Invoice Template
When you create your artist invoice, you will want to make sure to include some key pieces of information. The following is a list of what should be on every artist invoice:
- Your name, address, and contact information
- The client’s name, address, and contact information
- A brief description of the services or products you provided
- The date the invoice was created
- The total amount owed to you by the client
- Payment terms (e.g., net 30, due upon receipt)
- Signature lines for you and the client.
Here are some tips that will help you create an artist invoice template:
- Use a standard business letter format with your name, address, contact information at the top of the page in header form. Make sure to include all necessary details, so there aren’t any issues later on when trying to locate a specific invoice.
- Underneath the header, include a brief description of the services or products you provided. This will help your clients understand what they’re paying for.
- In the date section, make sure to list out the month, day, and year so there’s no confusion later on.
- The amount section should list the total cost for the services or products you rendered. Be sure to use proper currency symbols and abbreviations to avoid any confusion.
- In the payment terms section, be specific about when the invoice is due and how it should be paid. This will help avoid any late payments or misunderstandings.
How to Create an Artist Invoice
As your business grows, it’s important to have your bookkeeping work polished so that you can focus more on creating or performing your best for your clients. With an artist invoice from invoicing platforms like ReliaBills, you can perfect the process of billing your clients and get paid on time.
Are you ready to create an invoice for your clients? If so, follow the steps outlined below:
- Download the free artist invoice template available in your preferred invoicing platform. Of course, you can create one from scratch and make it as unique and professional as possible using ReliaBills (more about ReliaBills later).
- Once you’ve downloaded an artist invoice template, open it using your preferred word processing platform. From there, you can now start editing the template according to your needs.
- Insert your name, business name, and contact details.
- Add business media elements such as your company logo, colors, and overall company theme.
- Fill out the client or business contact information.
- Create and include a unique invoice number for each invoice.
- List the date of service or product delivery.
- Include a description of products and services rendered, as well as a list of any associated costs.
- Detail the amount owing, using both words and figures to avoid confusion.
- Specify the payment terms, such as “Net 30” or “Due upon receipt.”
- Add space for your signature and that of the client you’re billing.
- Attach any additional documents to be included with the invoice. These may include contracts, product specifications sheets, receipts from purchase orders from suppliers, etc.
- Include payment options (e.g., PayPal, credit card payment portal) and instructions for purchasing.
- Review your artist invoice template to make sure it’s up to date with the latest changes in business practices.
- After you’ve reviewed your artist invoice, send or deliver it immediately to ensure that payments are made on time!
Automate Your Invoice with ReliaBills
If you’re creating your invoice from scratch using ReliaBills, you can make invoicing even better by automating your entire payment processing system. With ReliaBills, you can:
- Create and send invoices in minutes
- Set up automated payments so that clients are billed on a schedule or as soon as an invoice is generated
- Get paid faster with multiple payment options, including credit cards, debit cards, bank transfers, and PayPal.
- Plus, you’ll have access to powerful reporting and analytics so you can track your business growth over time.
Upgrade Your ReliaBills Account for Recurring Billing
If you want to make invoicing even easier, try using a recurring billing system. With this method, you’ll only have to invoice your clients once, and they’ll be billed automatically on a schedule or as soon as an invoice is generated.
Recurring billing can simplify both parties’ lives because it eliminates the need to send out countless invoices every month. Our invoicing platform makes it easier than ever to automate your billing system with our recurring billing features, so you can save time and focus on growing your business!
The ReliaBills recurring billing feature is available on its premium version, ReliaBills PLUS, for only $24.95 per month. But, of course, you can cancel your subscription any time, so there’s no risk in trying it out.
How to Create a New Recurring Invoice Using ReliaBills
Creating a New Recurring Invoice using ReliaBills involves the following steps:
Step 1: Login to ReliaBills
- Access your ReliaBills Account using your login credentials. If you don’t have an account, sign up here.
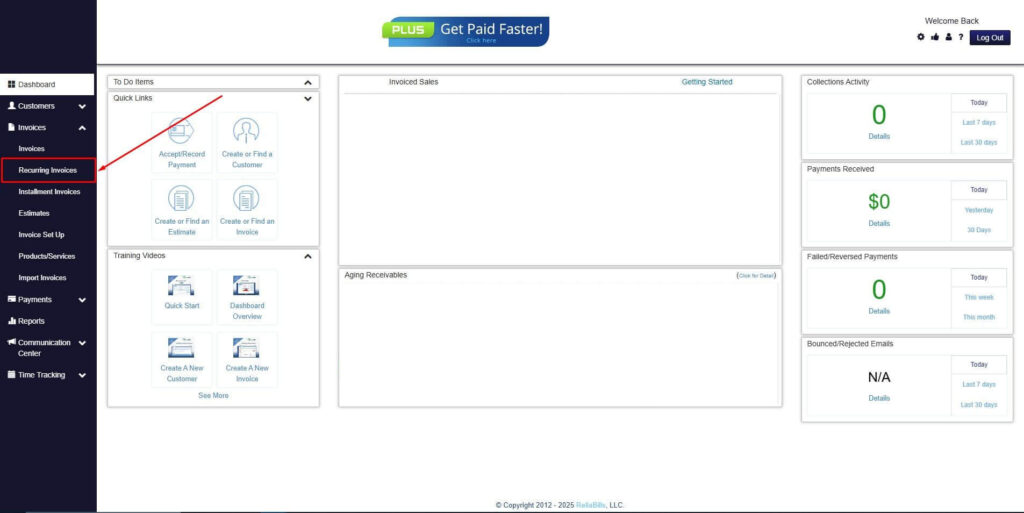
Step 2: Click on Recurring Invoices
- Navigate to the Invoices Dropdown and click on Recurring Invoices for an overview of the list of your existing customers.
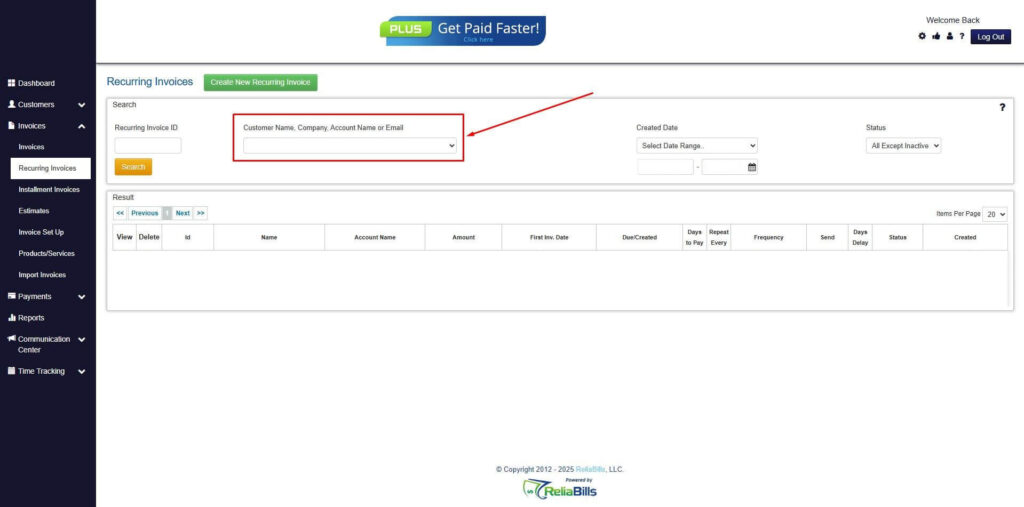
Step 3: Go to the Customers Tab
- If you have already created a customer, search for them in the Customers tab and make sure their status is “Active”.
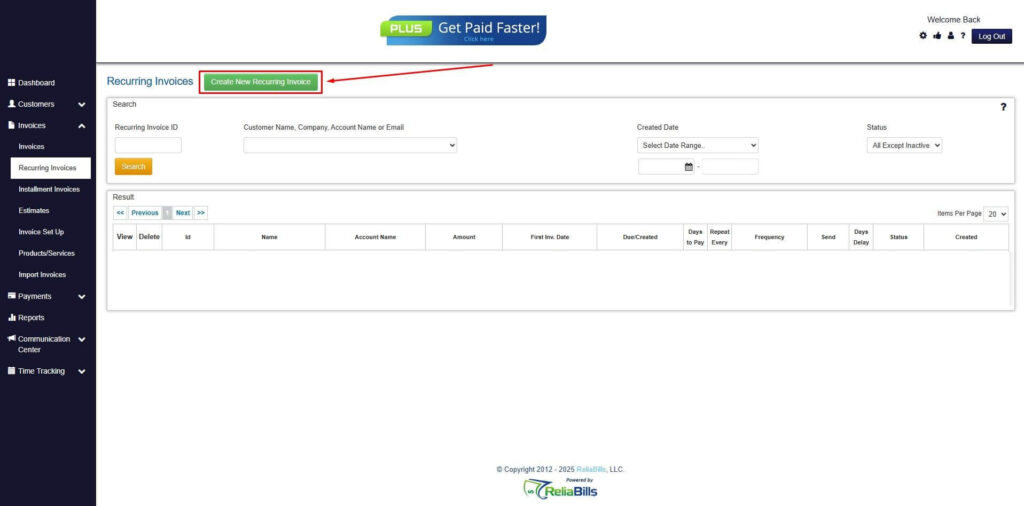
Step 4: Click the Create New Recurring Invoice
- If you haven’t created any customers yet, click the Create New Recurring Invoice to create a new customer.
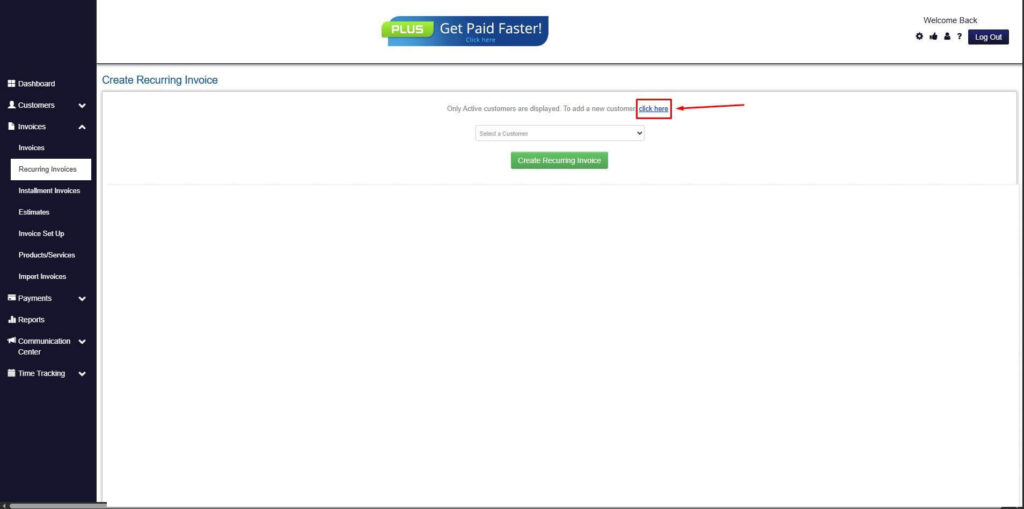
Step 5: Click on the “Click here” Button
- Click on the “Click here” button to proceed with the recurring invoice creation.
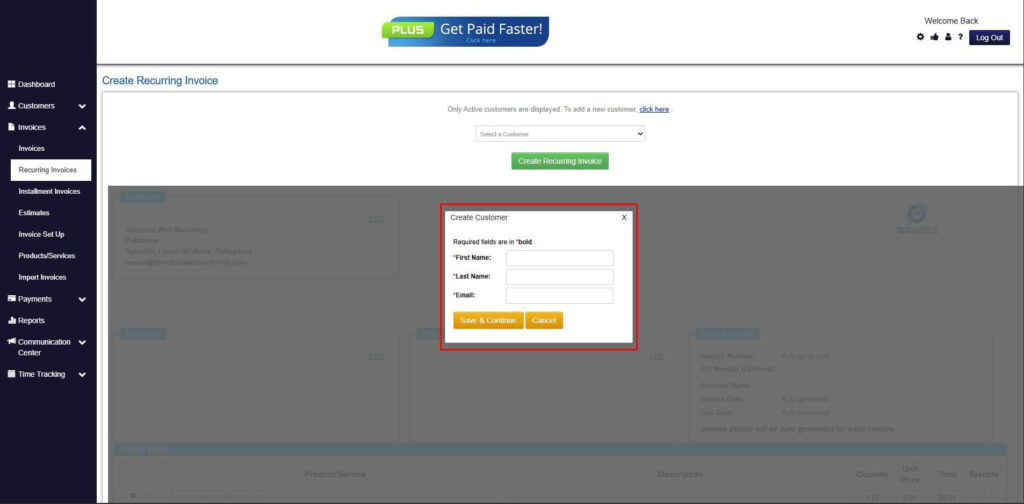
Step 6: Create Customer
- Provide your First Name, Last Name, and Email to proceed.
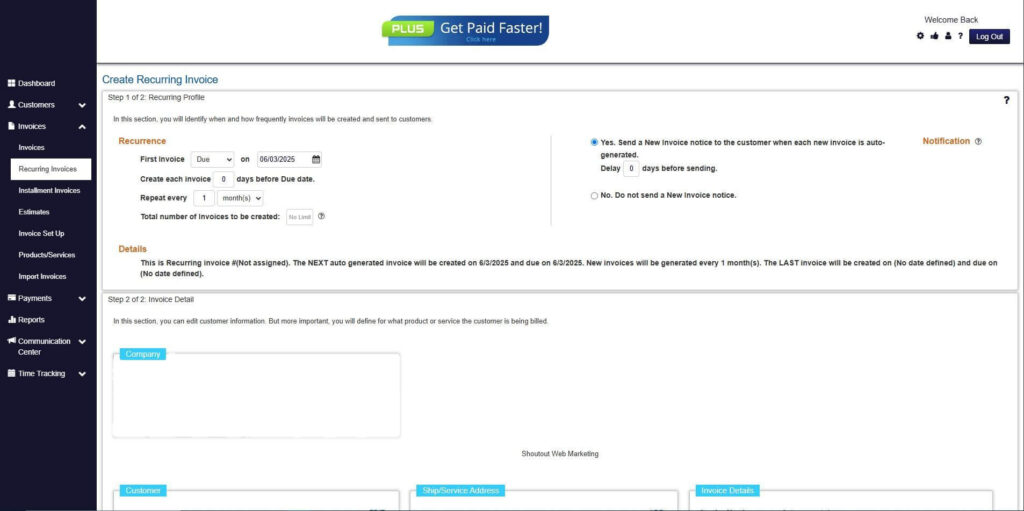
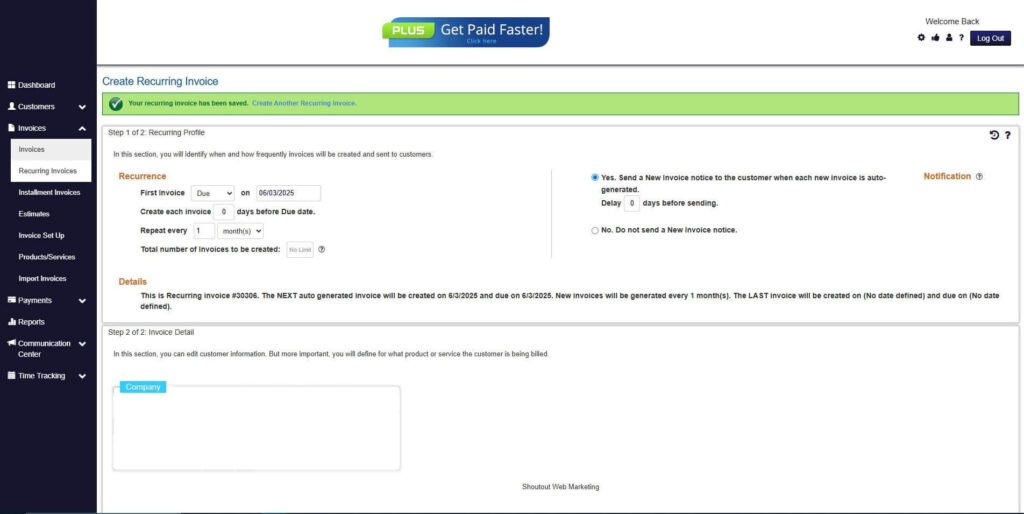
Step 7: Fill in the Create Recurring Invoice Form
- Fill in all the necessary fields.
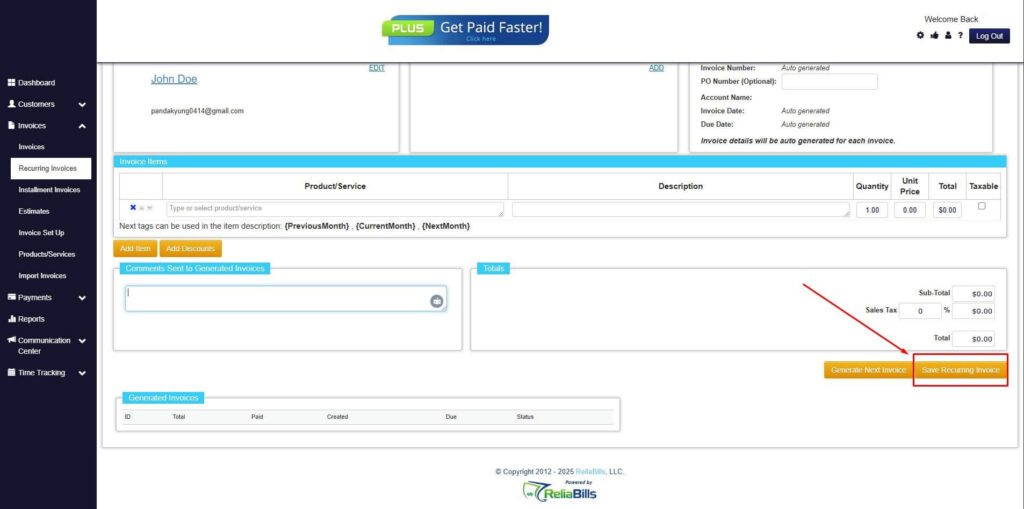
Step 8: Save Recurring Invoice
- After filling up the form, click “Save Recurring Invoice” to continue.
Step 9: Recurring Invoice Created
- Your Recurring Invoice has been created.
Wrapping Up
Ready to get started? Head over to ReliaBills now and create an artist invoice template that will help you get paid on time, every time!