Estimates
Create a New Estimate
- To get started with an estimate, go to the Estimate page. As with many ReliaBills features, there are several ways to get there:
- Use the QuickLink on the left side of the Dashboard.
- Go to the Invoices navigation tab, then click Estimates.
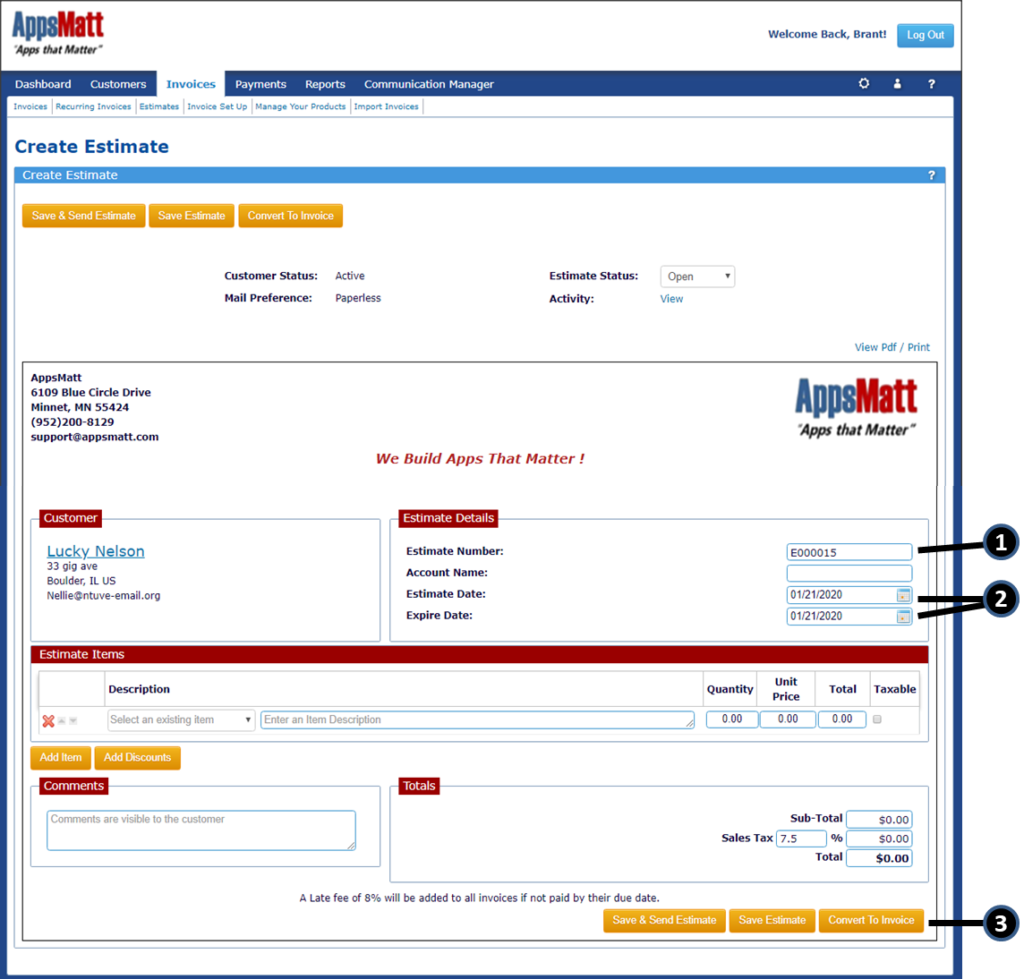
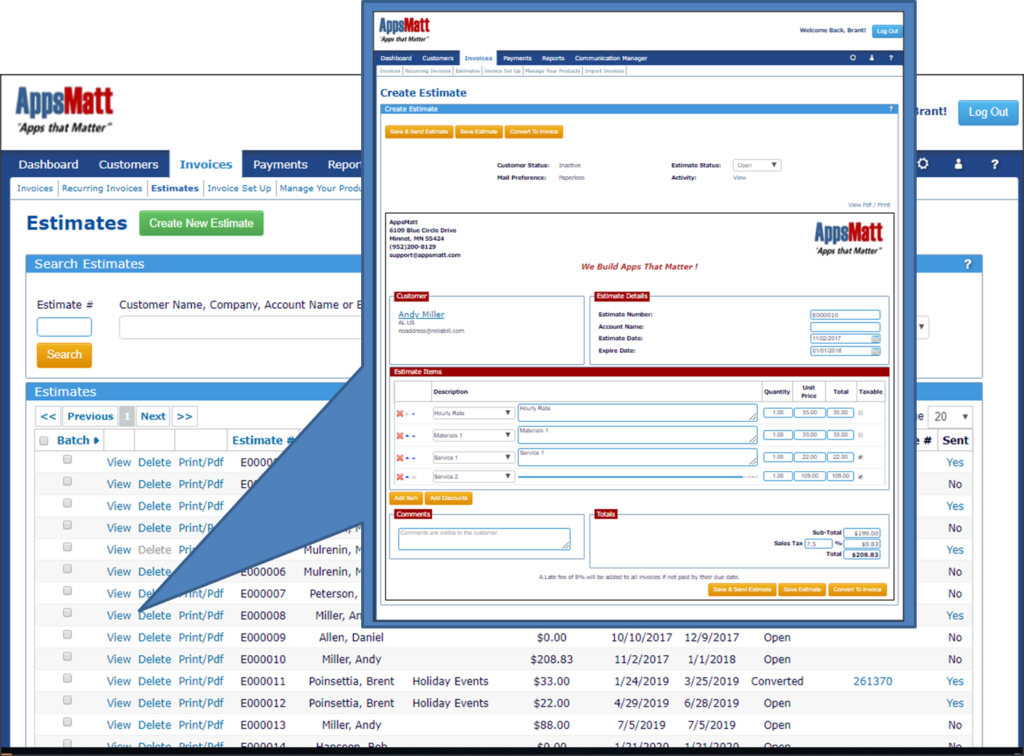
- Once on the Estimate page, you will see that like invoices and recurring invoices, you always start by selecting a customer. Only active customers will be listed in the dropdown. Select the customer and click Create Estimate.
- You will see that creating an estimate is VERY similar to creating an invoice. About the only differences are:
- Estimates use a unique numbering system starting with the letter E.
- Instead of creating dates and due dates, estimates use Estimate Date and Expire Date.
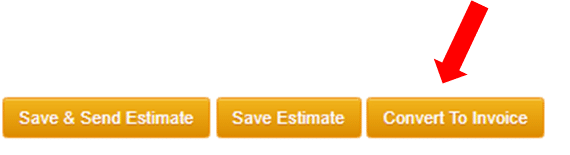
- In addition to saving and sending estimates, here is where you would convert an estimate to an invoice.
Send an Estimate
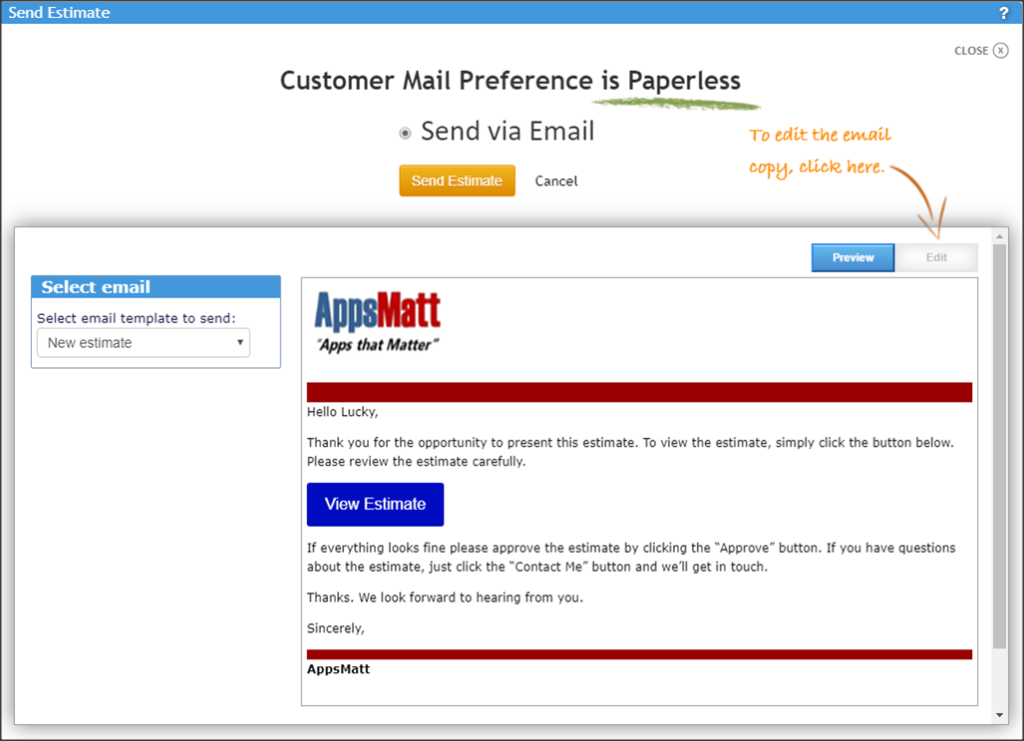
1. Now that your done creating your estimate, it’s time to send it to the customer. Just click the orange Save & Send button (located at the top and bottom of the page).
2. The popup window will display your standard Estimate email. To edit the template that created this email, go to the Engagement Manager.
3. If you like the email as it is, just simply click the Send button in the middle of the page.
4. If you would like to make edits to the email specific to your customer or estimate, click the Edit button at the right side of the page. This will change from preview to edit mode.
5. Make any changes you want. These changes will ONLY affect the estimate email. It will not be saved to the email template.
6. The customer will receive your email with the option to accept the estimate as it is or requests that you contact them to discuss. In either case, you will receive an email with the next steps.
Search Estimates
1. To search for your estimates, you can click the Estimate Quick Link on the left side of your ReliaBills Dashboard. Or you can go to Invoices then Estimates from the site navigation. Either way, you are now on the Estimates page.
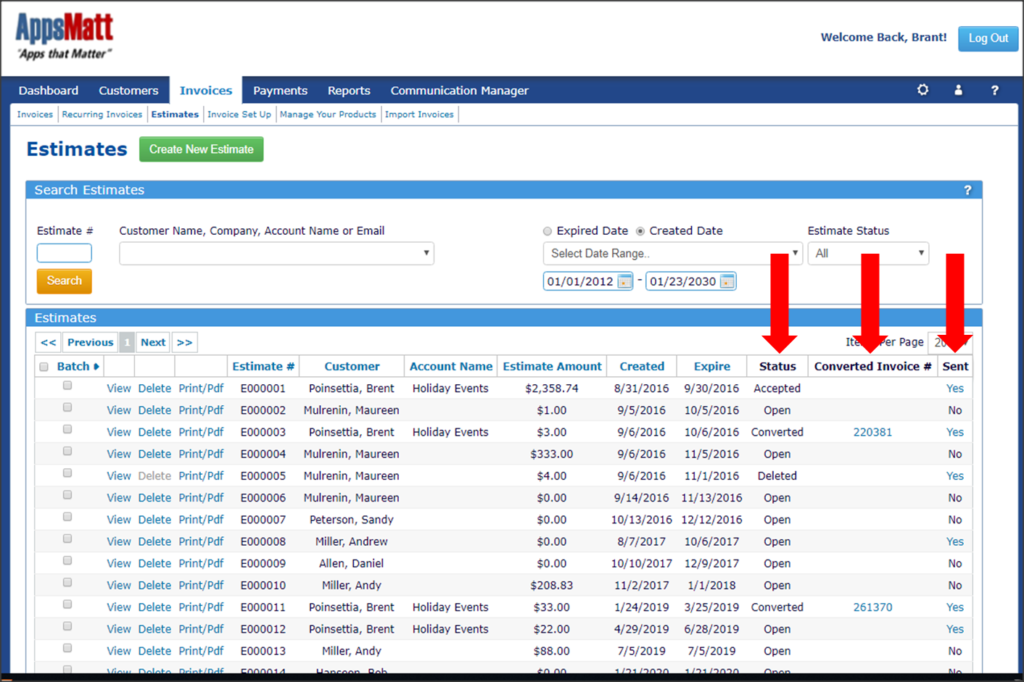
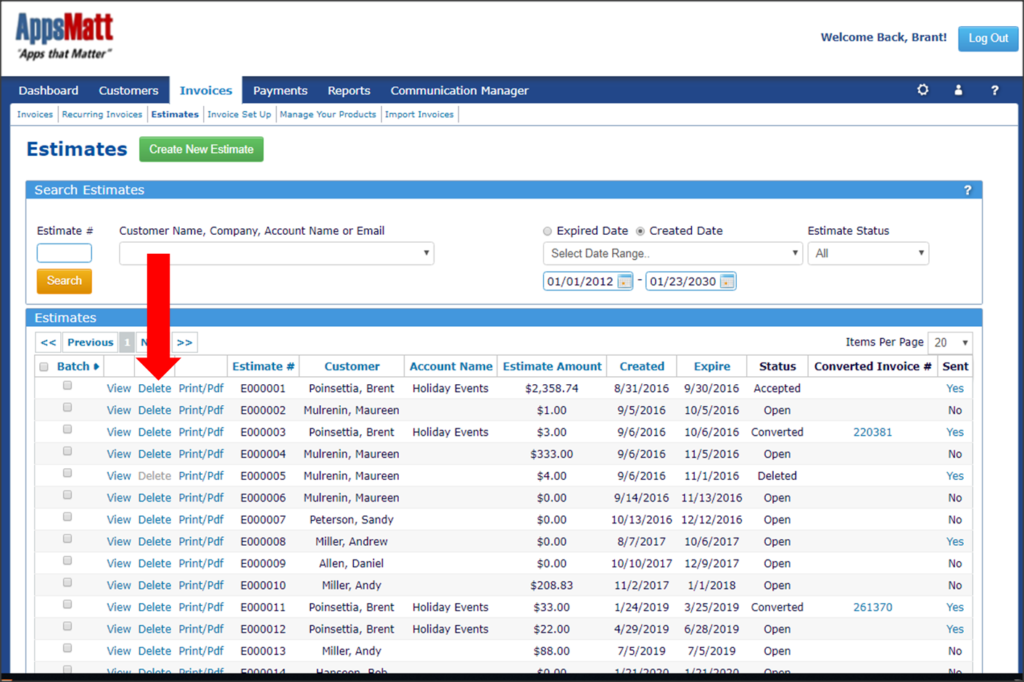
2. This page will list all of your Estimates where you can also use the filters at the top of the page to narrow your search by dates, customer or status.
3. On the far right of the page are three very important columns.
a. Status will let you know the state of all your estimates. For example, use the status search filter to see only Open estimates.
b. Converted Invoice # lets you know which of your estimates have been accepted and converted to an invoice.
c. Sent column lets you know if any estimates have not yet been sent to the customer.
View Estimates
From the Estimates page and using the filters, once you see the estimate that you are looking for, simply click the View hyperlink.
Edit Estimates
- Once you search and find the estimate that you want to edit, click the View hyperlink.
- You are now in Edit Mode. You can now make the necessary changes.
- Then click Save and resend it to your customer.
IMPORTANT: Estimates that have been Converted to Invoice or Deleted cannot be edited.
Delete Estimates
1. To delete an estimate, simply go to the Estimates page and use filters in order to see your estimate displayed.
2. Then simply click the Delete hyperlink.
3. You can also delete an estimate by searching for and then viewing the estimate.
4. Then use the status drop-down to select Deleted and then click Save Estimate.
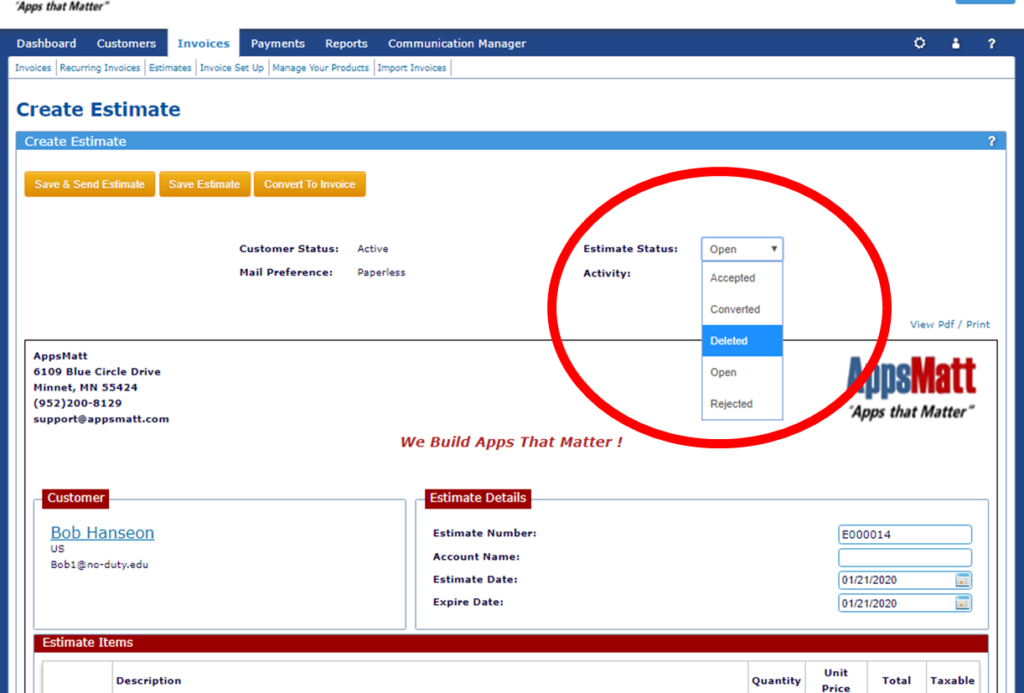
IMPORTANT: Once an estimate is deleted, it cannot be opened, reviewed, approved by the customer. Also, unlike invoices, a deleted estimate cannot be re-opened. You would need to create a new estimate.
Customer Accept Estimate
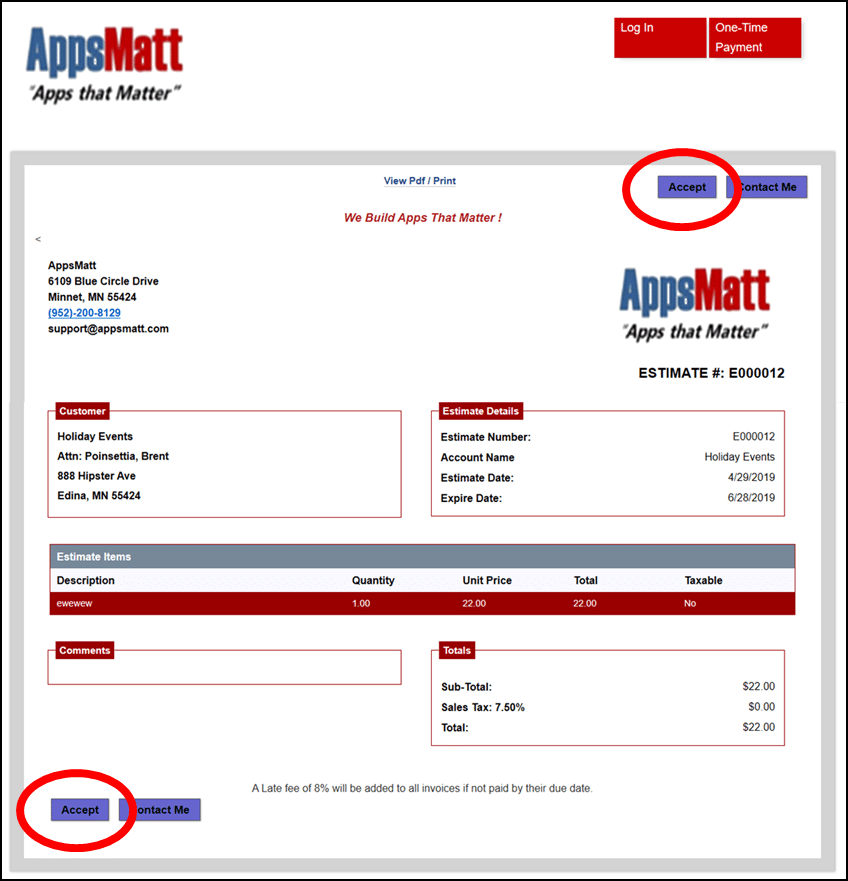
1. When you send an estimate to your customer, they will receive your personalized email with a link to View the estimate.
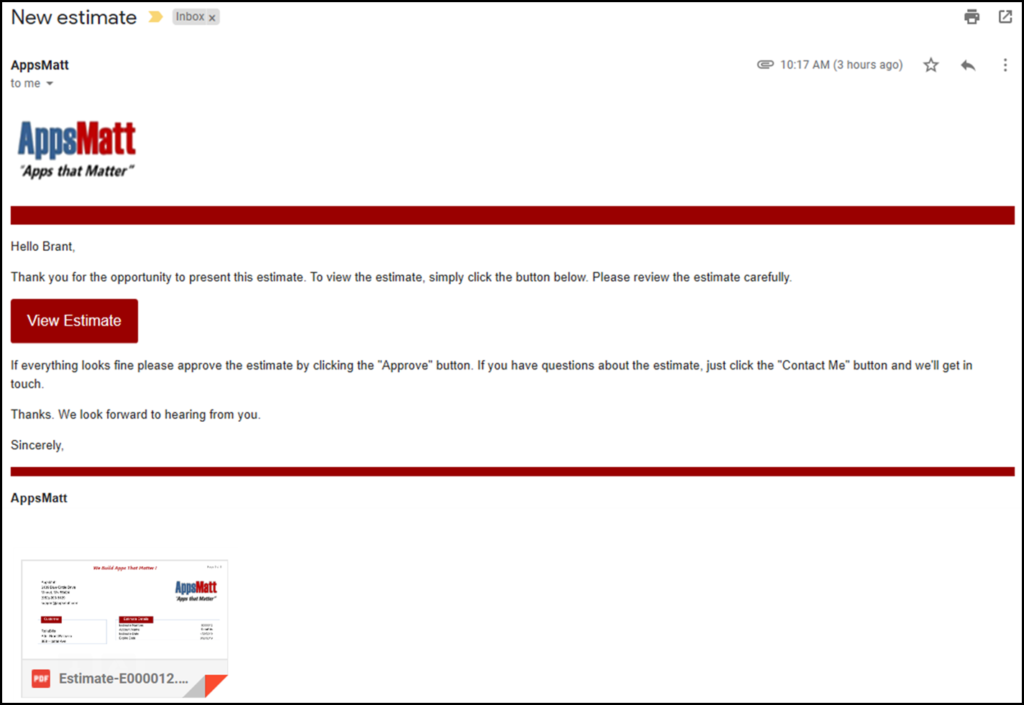
2. When viewing the online estimate, they only need to click the Accept button (located on the top and bottom of the estimate). In order to accept the estimate.
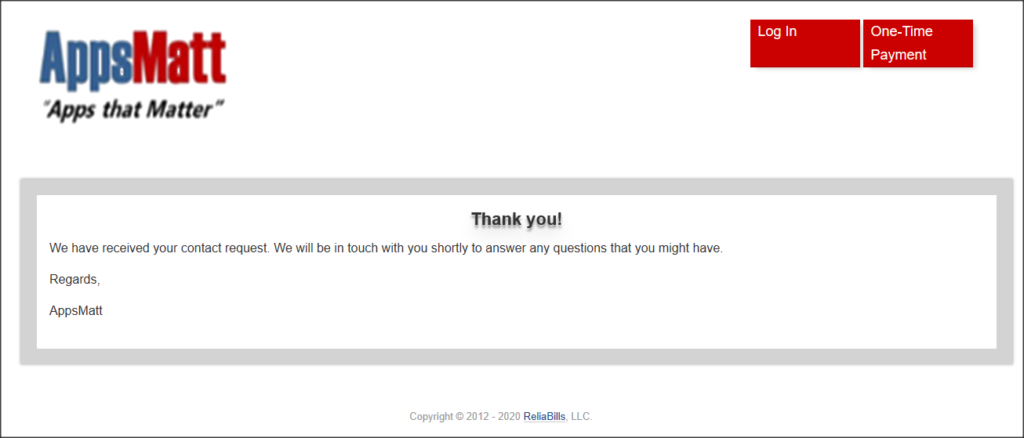
3. Once accepted, they will be presented with a Thank you template.

Customer Reject Estimate
1. When you send an estimate to your customer, they will receive your personalized email with a link to View the estimate.

2. When viewing the online estimate, if the customer has questions before accepting or something just doesn’t look right, they can just click the Contact Me button.

3. Your customer will receive an online message letting them know that you will be in contact.
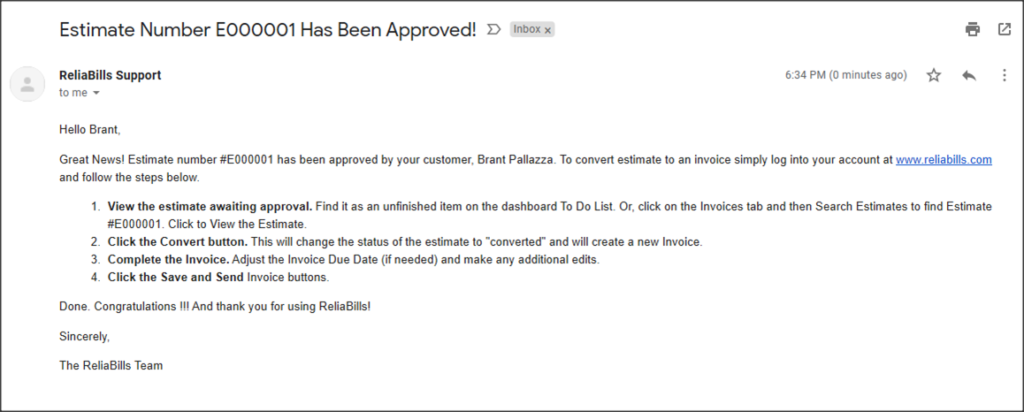
4. And you will receive an email letting you know that your customer would like to be contacted.

Convert Estimate To Invoice
When your customer accepts an online estimate, you’ll know in two ways:
1. First, you’ll receive an email notifying you which estimate was approved and what to do next.
2. And Second, when you log into your ReliaBills account, you will see an open To-Do item: Estimate Awaiting Approval.
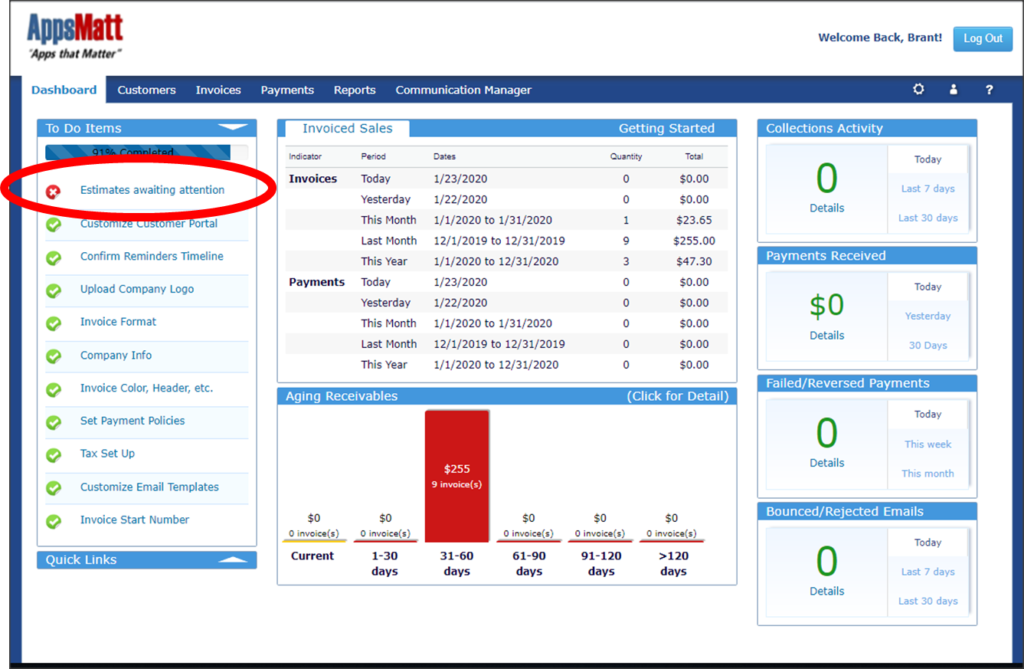
3. Just click on the To-Do link to view the invoice. If no changes are necessary, click the Convert to Invoice button.
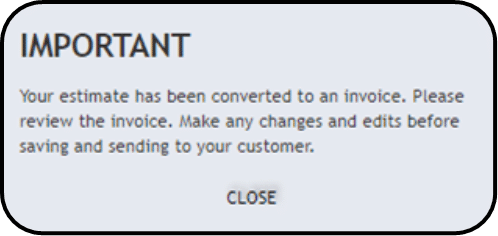
4. This will create a new invoice identical to the estimate. You will see an on-screen message reminding you to review the invoice for any changes.
NOTE: The most common changes include the re-definition of creating a date and due date.