
Drywall repair may seem like a straightforward task, but billing for it can quickly become complicated if contractors do not use a proper invoicing system. Whether you are patching a hole, repairing water damage, or fixing cracks from settling, clear documentation helps customers understand the work performed and ensures contractors get paid correctly and on time. That is why having a professional invoice for drywall repair is essential for every contracting business.
A well prepared drywall repair invoice outlines labor, materials, project scope, and pricing in a format that is easy for customers to follow. It also serves as an important record for both the contractor and the homeowner, protecting both parties in case questions or disputes arise later.
What Is a Drywall Repair Invoice?
A drywall repair invoice is a detailed billing document that contractors use to charge customers for patching, repairing, or replacing drywall. It includes the type of damage, work performed, material quantities, labor hours, and project cost. While a general contractor invoice covers a wide range of services, a drywall repair invoice focuses specifically on wall and ceiling repairs, making it easier to present accurate project details.
The purpose of this specialized invoice is to provide transparency, show professional breakdowns of repairs, and give homeowners a clear understanding of the work completed.
When Do Contractors Use a Drywall Repair Invoice?
Contractors issue a drywall repair invoice in many situations, including:
- Fixing holes from accidents or renovations
- Repairing cracks caused by structural settling
- Water damage restoration
- Smoke or fire damage repairs
- Patching dents from door handles or furniture
- Ceiling drywall repairs
- Remodeling projects
- Insurance claim work
Any job involving wall or ceiling repairs benefits from proper documentation through a clear invoice.
Key Components of a Drywall Repair Invoice
A complete invoice for drywall repair should include:
- Contractor business name, contact details, and license info
- Customer name and property address
- Date of service
- Description of the drywall issue
- Scope of work
- Itemized labor charges
- Materials used (joint compound, drywall sheets, tape, screws, etc.)
- Total project cost
- Payment terms and accepted payment methods
- Warranty or service notes
These components make billing organized and easy to understand.
Why Contractors Need a Drywall Repair Invoice
Using a drywall repair invoice builds trust with clients by showing exactly what they are paying for. It eliminates confusion by clarifying materials and labor costs, which helps avoid misunderstandings and payment delays. A professional invoice also supports smoother communication and reduces the chances of disputes.
For contractors, an organized invoice system simplifies recordkeeping, especially during tax season or when tracking project histories. It also helps maintain a consistent and professional image, which is vital for growing a contracting business.
How to Create a Drywall Repair Invoice (Step-by-Step)
1. Start with your business information.
Include your company name, logo, address, and contact details.
2. Add customer and project details.
Specify the property address and date of service.
3. Describe the drywall damage.
Explain what caused the issue and the type of repair performed.
4. Itemize labor and materials.
Separate material costs from labor for clear pricing.
5. Include totals and payment terms.
State the amount due, due date, and acceptable payment options.
6. Review for accuracy.
A clean and accurate invoice leads to faster payments.
Tips for Writing an Effective Drywall Repair Invoice
- Keep descriptions simple but specific
- Break down labor and materials clearly
- Use consistent pricing to avoid confusion
- Include before and after notes if helpful
- Communicate timelines and expectations early
Clear communication leads to satisfied customers and timely payments.
Common Invoicing Mistakes to Avoid
Try to avoid these common errors:
- Vague or incomplete descriptions
- Missing job dates or locations
- Not itemizing materials
- Incorrect totals or math errors
- Forgetting to state payment terms
- Using handwritten or messy invoices
These issues can slow payments or create customer frustration.
Drywall Repair Invoice Template (Example)
A simple layout might include:
- Contractor details
- Customer information
- Project address
- Work description
- Itemized list of labor and materials
- Cost breakdown
- Total due
- Payment instructions
Contractors can customize this format to match their branding and workflow.
How ReliaBills Helps Contractors With Drywall Repair Invoicing
ReliaBills makes it easy for drywall contractors to build clean and professional invoices that customers can understand instantly. You can itemize labor and material costs, attach project notes, and send invoices directly to clients without switching between apps. This keeps every job organized and reduces the time spent writing invoices by hand.
For contractors handling repeated drywall work for property managers, insurance jobs, or ongoing projects, ReliaBills offers helpful automation tools. Recurring billing ensures invoices are sent on schedule, reminders go out automatically, and payments are tracked without manual follow up. It is a major advantage for busy contractors who want dependable cash flow.
ReliaBills also supports secure online payments, digital receipts, and clear recordkeeping that makes it easier to manage customer histories. Everything is stored in one place, allowing contractors to work faster, reduce administrative tasks, and focus more on completing drywall repairs.
How to Create a New Recurring Invoice Using ReliaBills
Creating a New Recurring Invoice using ReliaBills involves the following steps:
Step 1: Login to ReliaBills
- Access your ReliaBills Account using your login credentials. If you don’t have an account, sign up here.
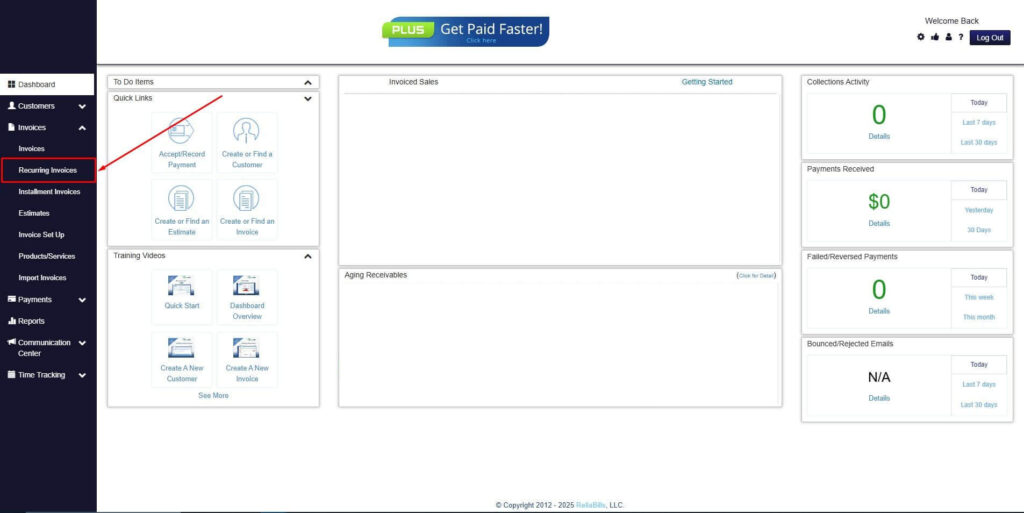
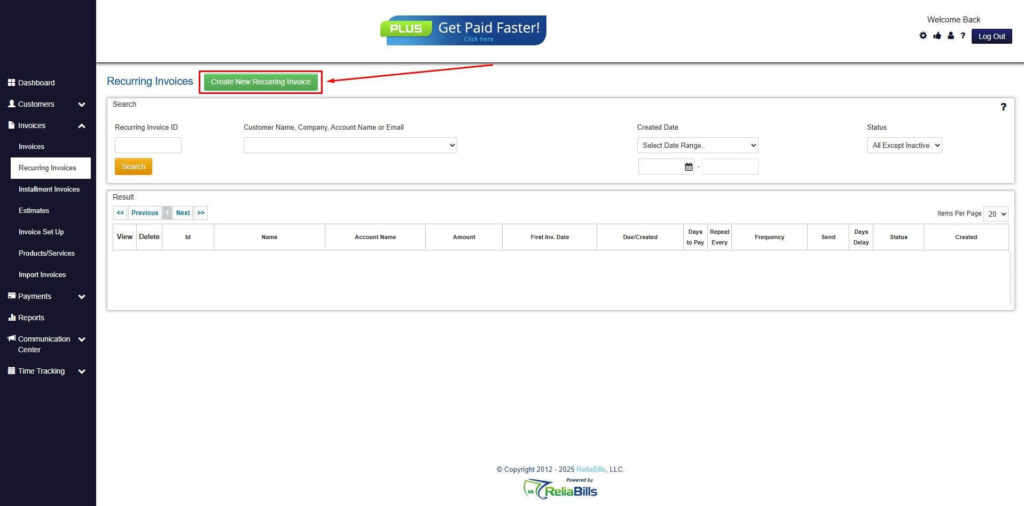
Step 2: Click on Recurring Invoices
- Navigate to the Invoices Dropdown and click on Recurring Invoices for an overview of the list of your existing customers.
Step 3: Go to the Customers Tab
- If you have already created a customer, search for them in the Customers tab and make sure their status is “Active”.
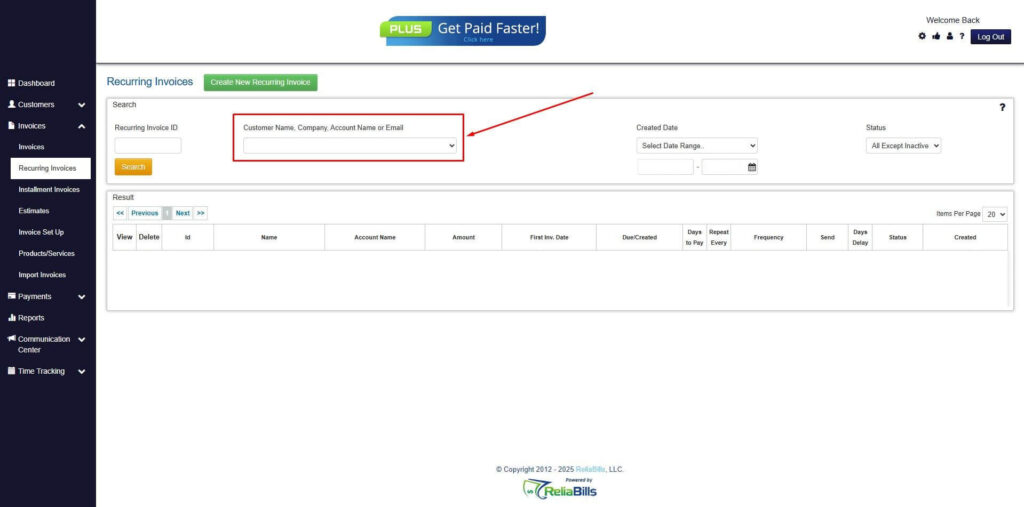
Step 4: Click the Create New Recurring Invoice
- If you haven’t created any customers yet, click the Create New Recurring Invoice to create a new customer.
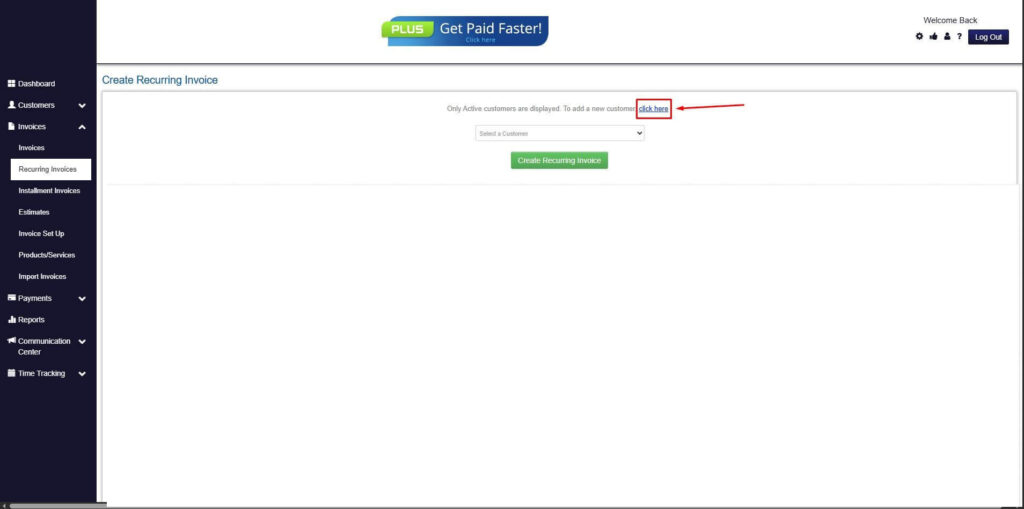
Step 5: Click on the “Click here” Button
- Click on the “Click here” button to proceed with the recurring invoice creation.
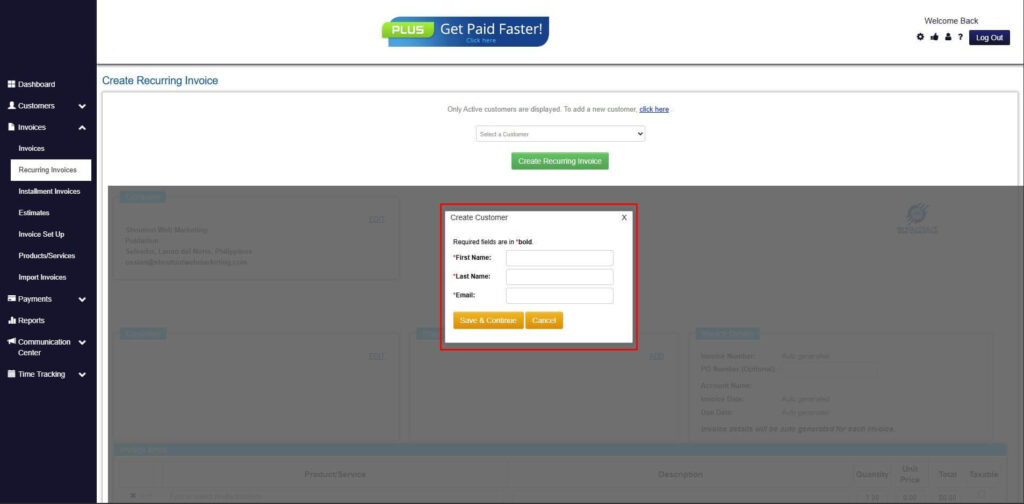
Step 6: Create Customer
- Provide your First Name, Last Name, and Email to proceed.
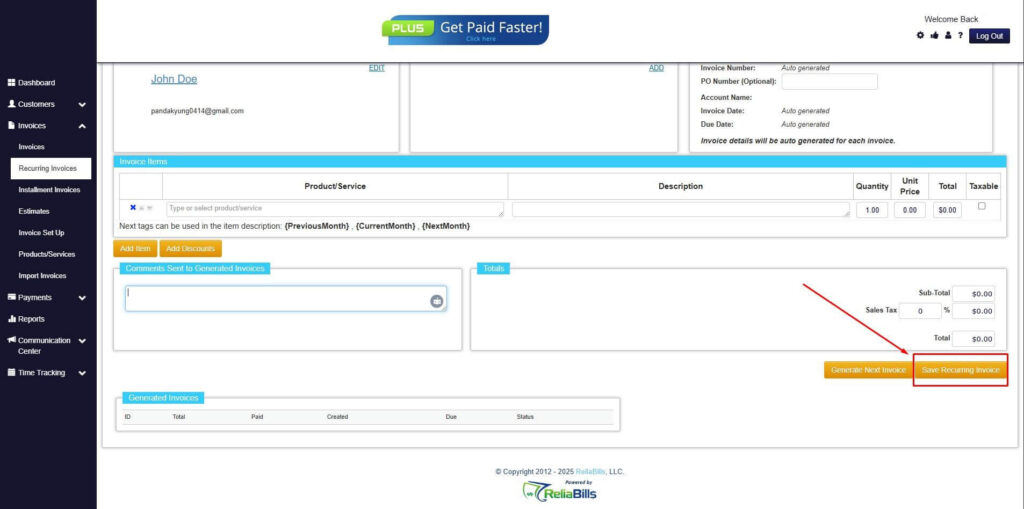
Step 7: Fill in the Create Recurring Invoice Form
- Fill in all the necessary fields.
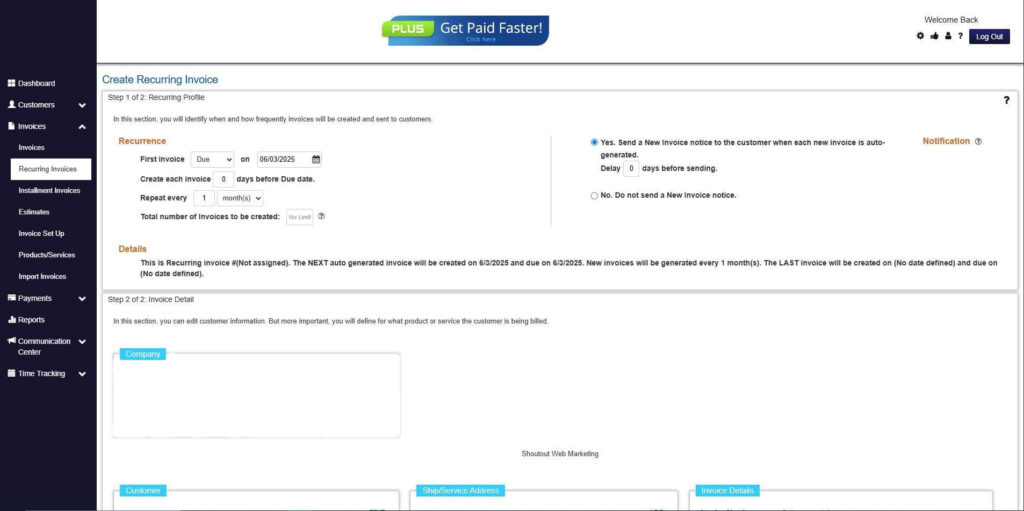
Step 8: Save Recurring Invoice
- After filling up the form, click “Save Recurring Invoice” to continue.
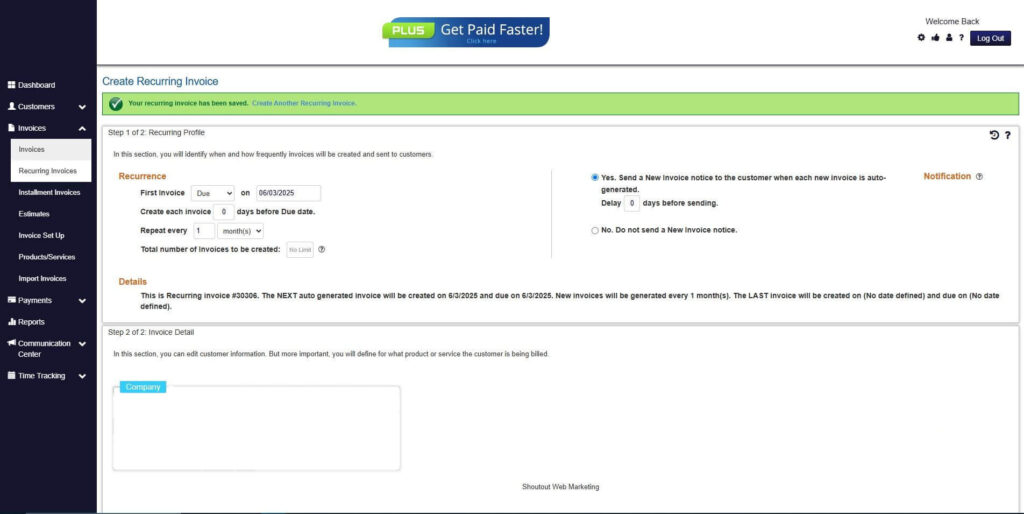
Step 9: Recurring Invoice Created
- Your Recurring Invoice has been created.
Frequently Asked Questions
1. Do I need a special invoice for small drywall patches?
Yes. Even small repairs should be documented with a proper invoice to maintain professionalism and clear records.
2. Should I include photos in my invoice?
Photos are optional but helpful for documenting damage, especially for insurance related jobs.
3. Can I charge separate rates for labor and materials?
Yes. Most contractors itemize these separately to keep pricing transparent for customers.
4. What if the repair expands after inspection?
Provide an updated invoice or change order before continuing work to avoid confusion.
5. Can ReliaBills be used for drywall repair estimates too?
Yes. You can build estimates and convert them into invoices once the customer approves the work.
Conclusion
A professional drywall repair invoice keeps billing clear, organized, and fair for both contractors and customers. By outlining materials, labor, and project scope, contractors can prevent misunderstandings and get paid faster. With tools like ReliaBills, creating accurate invoices becomes even easier through automation, recurring billing, and online payments, helping drywall pros stay efficient and professional.