
When contractors handle repair or restoration work after damage, one of the most important documents they provide is an invoice for the insurance company. Insurers rely on clear and complete invoices to verify the work performed, confirm material costs, and approve payout amounts. Without proper documentation, even legitimate claims can be delayed.
A well prepared contractor invoice for an insurance claim can speed up reimbursements, reduce back and forth with adjusters, and help contractors get paid on time. It acts as proof of labor, materials, and scope of work, making it essential for smooth claim processing.
What Is a Contractor Invoice for Insurance Claims?
A contractor invoice for insurance claims is a detailed billing document that outlines the repair or restoration work performed in connection with a covered incident. While a regular contractor invoice documents services rendered, this type includes extra details required by insurance companies, such as claim numbers, damage descriptions, specific labor charges, and itemized materials.
The goal is to show insurers what was done, why it was necessary, and how much it cost, all in a format compliant with their review process.
When Do You Need a Contractor Invoice for Insurance?
Insurance companies request contractor invoices in situations involving property damage or emergency work. These often include:
- Water, fire, or storm damage repairs
- Mold remediation
- Roof replacements
- Smoke and soot restoration
- Flood cleanup
- Emergency board ups
- Structural repairs
Any time a homeowner or business files a claim and hires a contractor, the insurer will need a complete invoice to validate and approve the costs.
Required Information in a Contractor Insurance Invoice
A strong contractor invoice for an insurance claim should include:
- Contractor name, address, and contact information
- License and insurance details
- Client information
- Job address
- Insurance claim number
- Itemized list of labor and materials
- Detailed description of repair work
- Date work started and completed
- Total cost of the job
- Payment terms
- Any photos or attachments when needed
The more clear and structured the invoice is, the easier it is for adjusters to approve.
Step-by-Step Guide: How To Create a Contractor Invoice for an Insurance Claim
Step 1: Gather all project details.
Document labor hours, material costs, emergency work, and the insurance claim number.
Step 2: Write a clear job description.
Explain what caused the damage, what work was completed, and why it was necessary.
Step 3: Itemize materials and labor.
Break down each cost to help adjusters understand the pricing.
Step 4: Add dates and location.
Include service dates, job site address, and completion timelines.
Step 5: State the total cost and payment terms.
Make sure contractors and insurers know exactly what is owed and when it is due.
Step 6: Review everything for accuracy.
Double check values, spelling, and documentation to avoid delays.
Tips for Ensuring Your Invoice Gets Approved Quickly
Getting insurance approval often depends on clarity and completeness. These tips help accelerate the process:
- Be detailed but easy to understand.
- Use consistent pricing and avoid estimates unless allowed.
- Include photos when helpful.
- Communicate promptly with the adjuster.
- Submit the invoice as soon as the job is completed.
Common Mistakes to Avoid
To prevent delays or rejections, contractors should avoid:
- Vague job descriptions
- Missing claim numbers
- Lump sum totals without itemization
- Incorrect dates or addresses
- Inconsistent pricing
- Leaving out materials or labor details
Even small errors can lead to lengthy back and forth with insurance companies.
Sample Contractor Invoice Template for Insurance Claims
Here is a simple layout you can use as a guide:
- Contractor details
- Client name and property address
- Insurance claim number
- Job description
- Itemized labor and materials
- Total cost
- Payment terms
- Signature line
A clear and organized layout makes a strong impression and supports fast approval.
How ReliaBills Can Help Contractors With Insurance Invoicing
ReliaBills is a powerful tool for contractors who need to send accurate and organized invoices for insurance claims. The platform helps you build detailed invoices with itemized materials, labor, photos, and job descriptions that insurance adjusters can easily review. This reduces the chances of missed information and shortens the claim approval process.
Another major advantage is automation. Many contractors perform ongoing work for insurance restoration companies or handle multiple projects at once, which can quickly become overwhelming. ReliaBills helps streamline this workload with recurring billing, automated reminders, and digital documentation, making it easier to keep everything organized and accessible. If you manage frequent insurance related jobs, recurring billing ensures invoices are sent consistently and on time without manual effort.
ReliaBills also supports secure client communication and cloud storage, so contractors always have access to past invoices, work history, and claim documentation. This gives you a reliable system for tracking payments, resolving disputes, and proving your work when insurers request more details. Overall, ReliaBills makes insurance invoicing faster, cleaner, and far more efficient.
How to Create a New Recurring Invoice Using ReliaBills
Creating a New Recurring Invoice using ReliaBills involves the following steps:
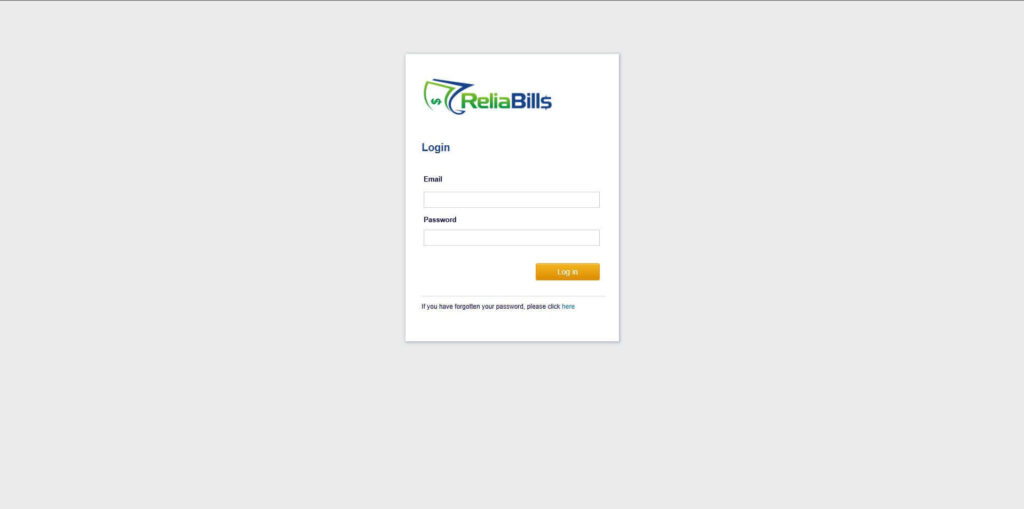
Step 1: Login to ReliaBills
- Access your ReliaBills Account using your login credentials. If you don’t have an account, sign up here.
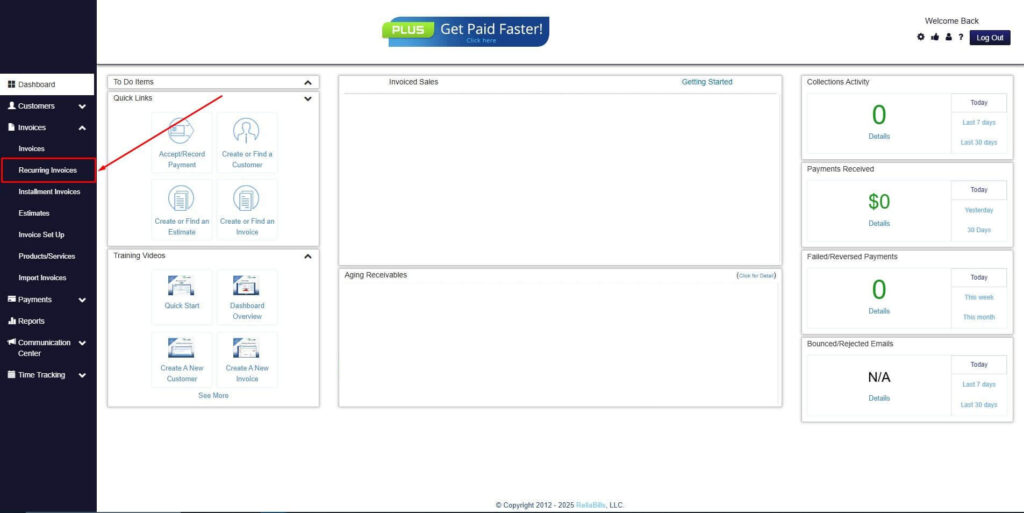
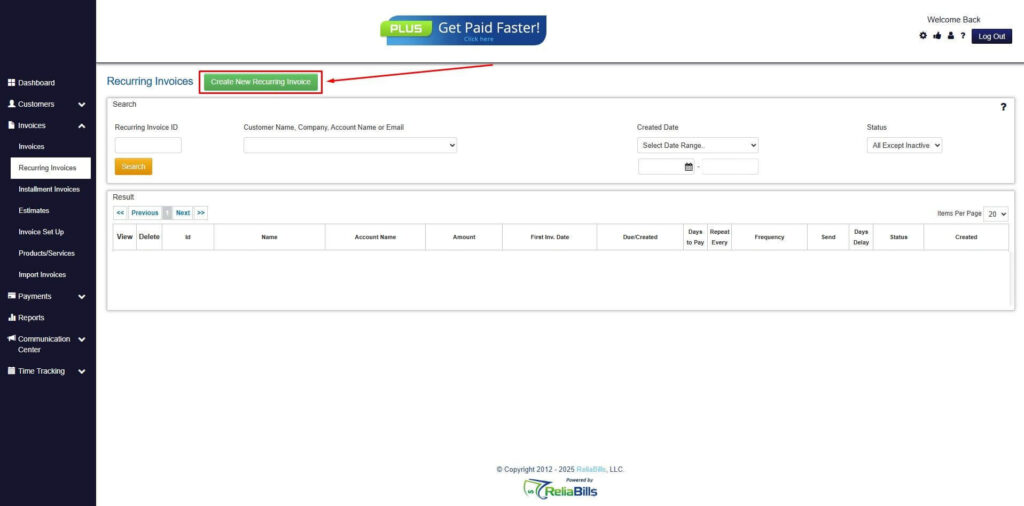
Step 2: Click on Recurring Invoices
- Navigate to the Invoices Dropdown and click on Recurring Invoices for an overview of the list of your existing customers.
Step 3: Go to the Customers Tab
- If you have already created a customer, search for them in the Customers tab and make sure their status is “Active”.
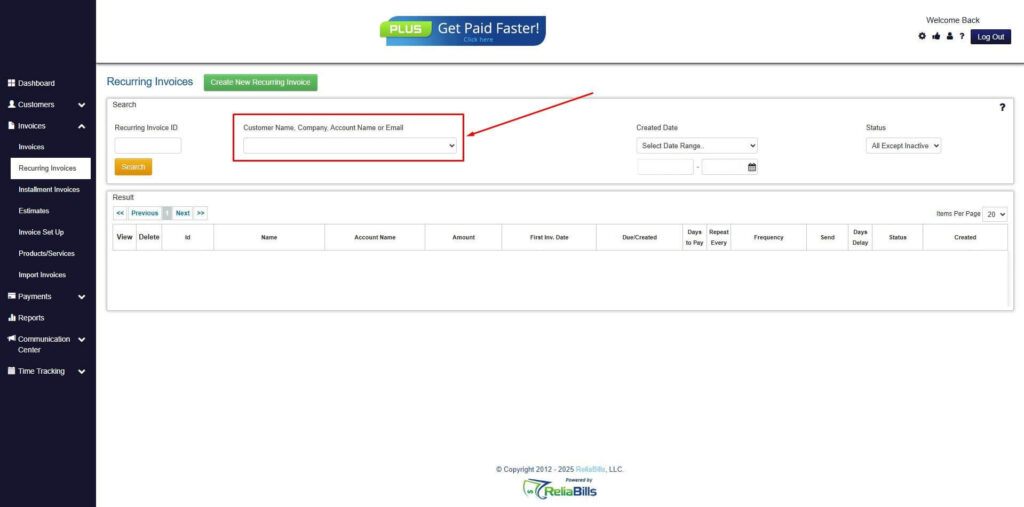
Step 4: Click the Create New Recurring Invoice
- If you haven’t created any customers yet, click the Create New Recurring Invoice to create a new customer.
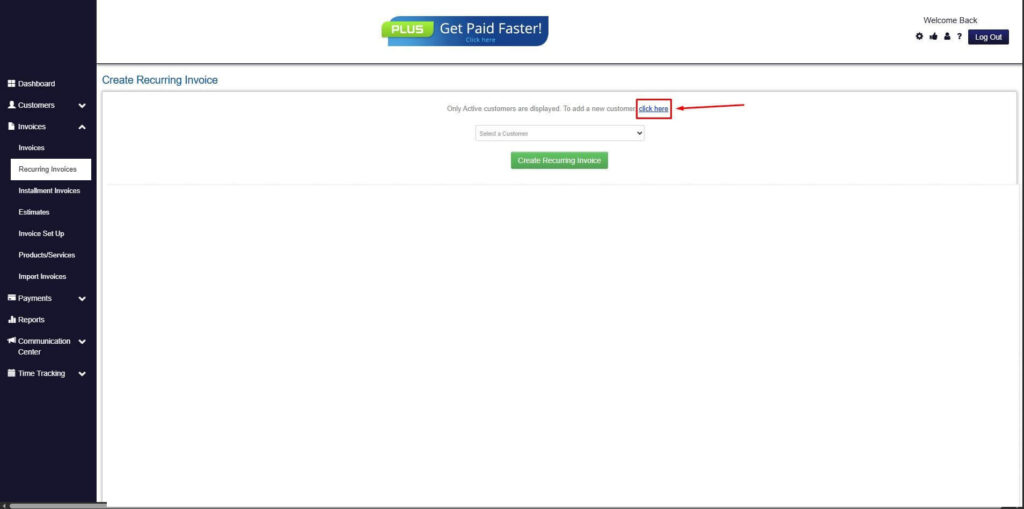
Step 5: Click on the “Click here” Button
- Click on the “Click here” button to proceed with the recurring invoice creation.
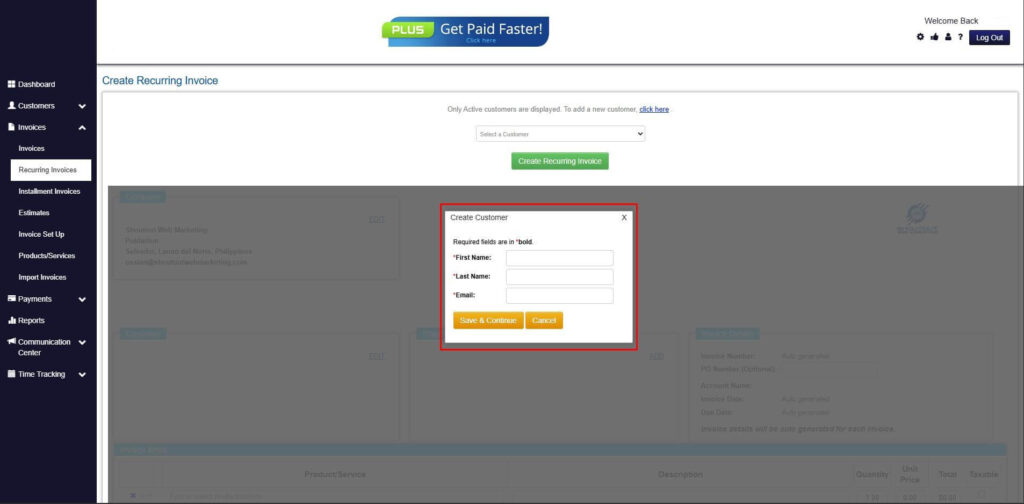
Step 6: Create Customer
- Provide your First Name, Last Name, and Email to proceed.
Step 7: Fill in the Create Recurring Invoice Form
- Fill in all the necessary fields.
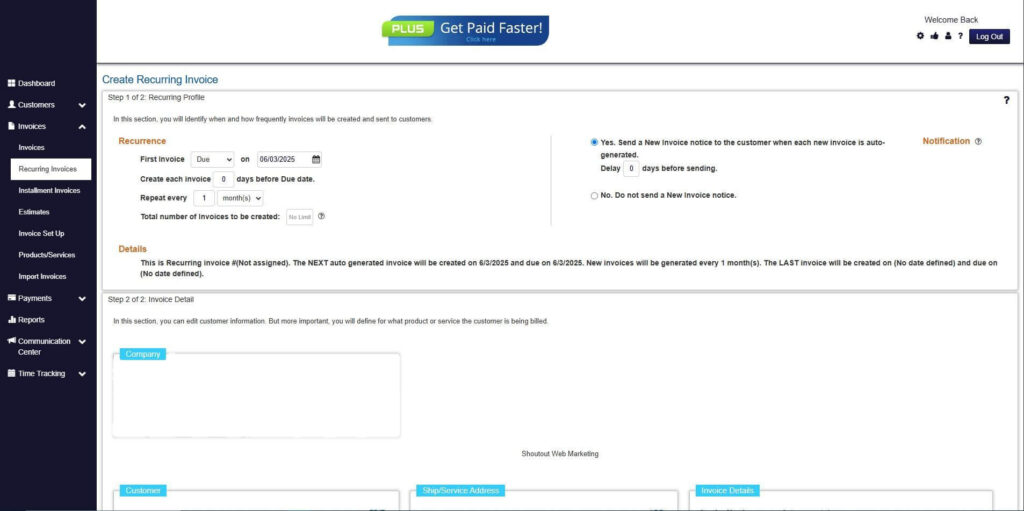
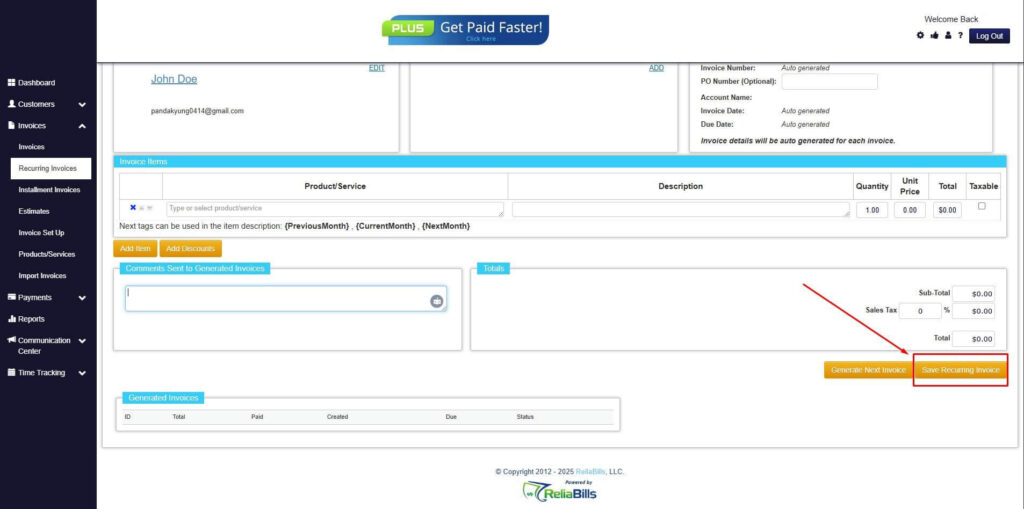
Step 8: Save Recurring Invoice
- After filling up the form, click “Save Recurring Invoice” to continue.
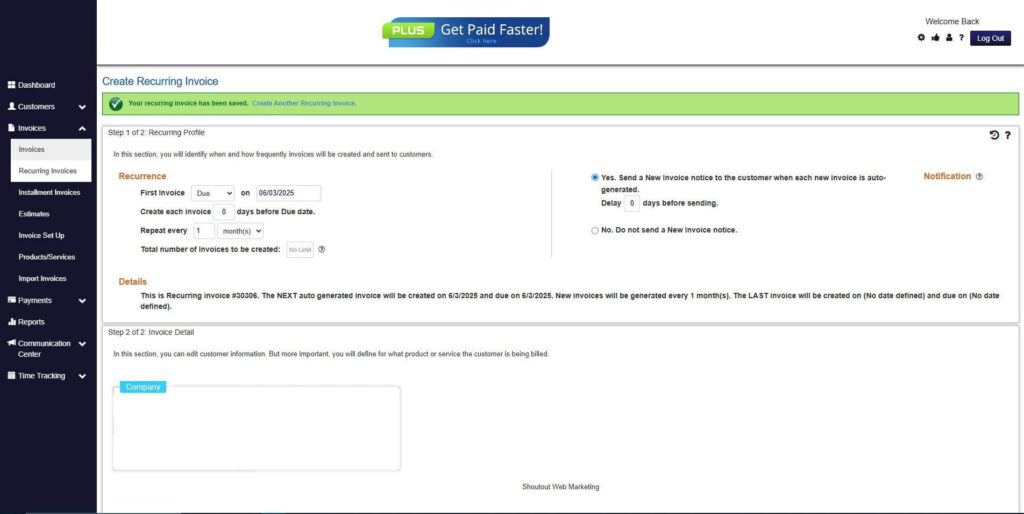
Step 9: Recurring Invoice Created
- Your Recurring Invoice has been created.
Frequently Asked Questions
1. Do insurance companies require itemized contractor invoices?
Yes. Insurers need detailed breakdowns of materials and labor to verify costs.
2. Can a contractor invoice be submitted before work is completed?
Sometimes, but most insurers prefer final invoices unless it is emergency or mitigation work.
3. Do contractors need to include photos with invoices?
Not always, but photos help support the claim and speed up approval.
4. What happens if information on the invoice is incorrect?
Incorrect or missing details may delay processing or lead to denial until corrected.
5. Can ReliaBills be used for multiple insurance claim projects?
Yes. ReliaBills is built for contractors managing multiple clients and allows easy organization of separate invoices and recurring work.
Conclusion
A clear and complete contractor invoice for an insurance claim helps insurers verify work, approve payments, and reduce delays. By including all required information and avoiding common mistakes, contractors can speed up the process and get paid faster. ReliaBills adds even more efficiency by automating invoicing, organizing documentation, and simplifying communication with clients and adjusters, making it an ideal tool for busy contractors.